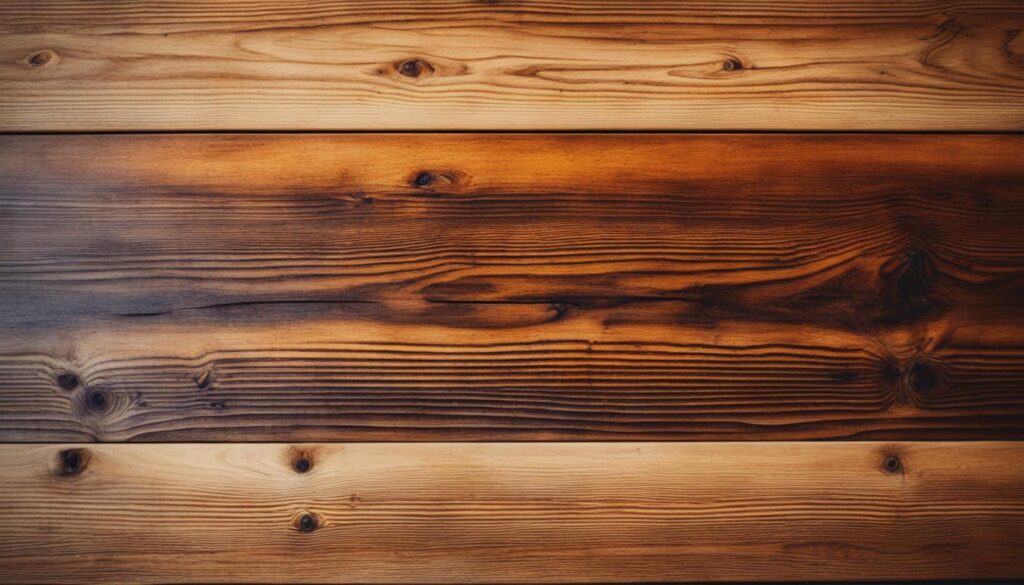
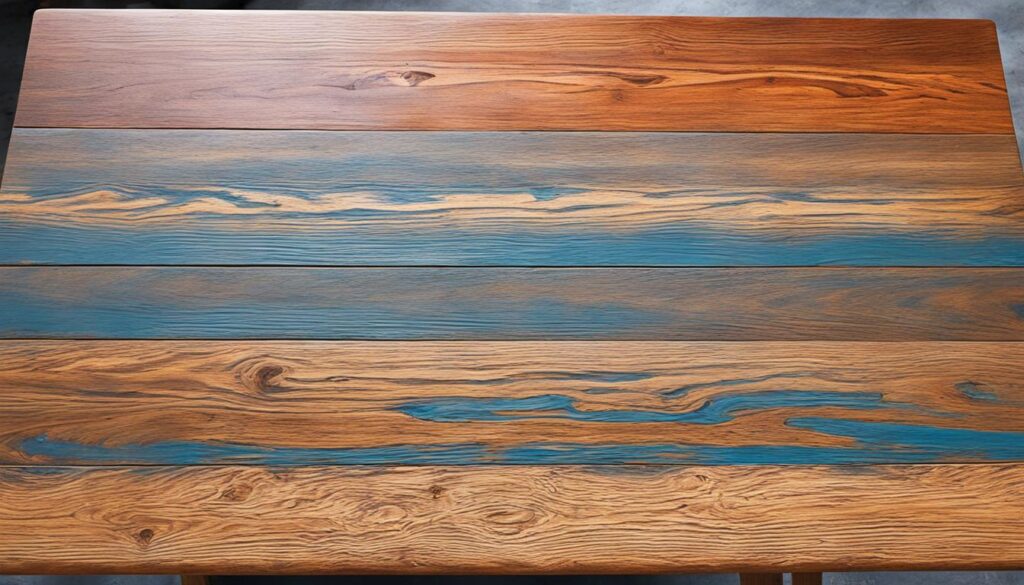
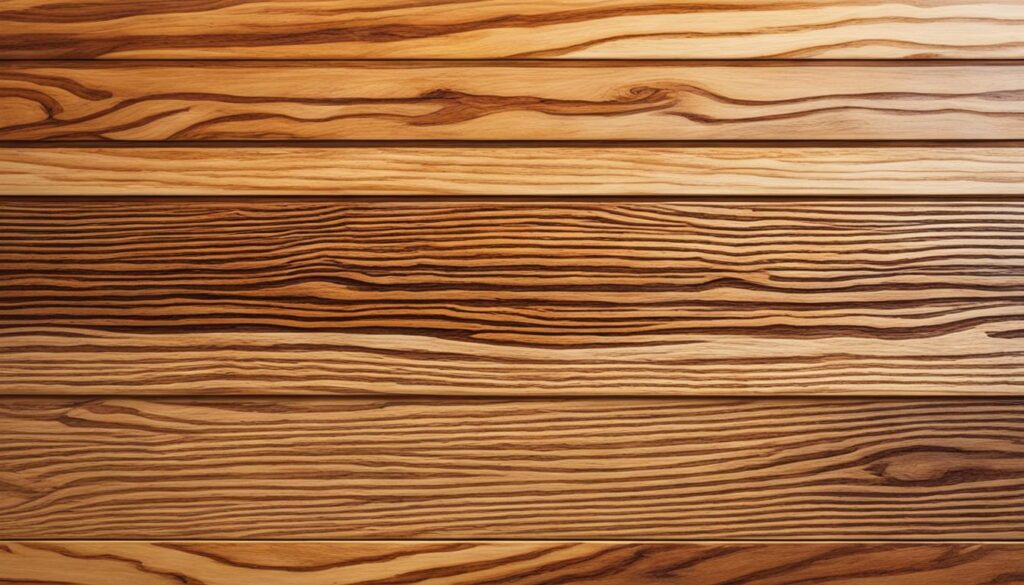
Danish oil has drawbacks worth noting: slow drying time necessitates thin, even coats for better results and may require extended drying periods. It offers limited water resistance, needing regular reapplication every 6-12 months for maintenance. Continuous reapplication can darken wood color, especially on lighter wood types, requiring monitoring. Achieving a satisfactory finish often needs multiple coats, meticulous wood preparation, and good application techniques. Not ideal for high-use surfaces due to maintenance needs. Additionally, it emits a strong odor during application, produces harmful fumes, and cleanup can be challenging.
Slow Drying Time
Danish oil is noted for its slow drying time, a characteristic that can present challenges to those seeking a quick and efficient finishing process for their woodworking projects. When applying Danish oil, it is important to keep in mind a few application tips to navigate this slower drying nature effectively. Firstly, apply thin, even coats of Danish oil to prevent excessive pooling, which can lead to extended drying times. Next, maintain proper ventilation in the workspace to aid in the drying process. Additionally, allowing for extra drying time between coats can help achieve a smoother and more durable finish.
Despite its slow drying time, Danish oil offers a beautiful, natural finish that enhances the wood's grain and color. However, for those who require a quicker alternative, there are alternative finishes available. Popular options include lacquer and shellac, which dry much faster than Danish oil. Lacquer provides a durable and glossy finish, while shellac offers a more traditional, warm look. Each of these alternatives presents its unique application methods and drying times, catering to different project requirements.
Limited Water Resistance
When considering the drawbacks of Danish oil as a wood finishing option, one notable limitation is its relatively limited water resistance compared to other finishing alternatives. Danish oil provides a beautiful finish and enhances the natural look of wood, but it is less resistant to water compared to polyurethane or lacquer finishes. This limited water resistance can lead to issues such as water spots, swelling, or warping of the wood if exposed to moisture for prolonged periods.
To mitigate the effects of its limited water resistance, Danish oil demands more frequent maintenance compared to other finishing options. Regular upkeep is essential to preserve the wood's appearance and durability. This involves periodic reapplication of Danish oil to make certain that the wood remains protected and maintains its aesthetic appeal.
For those seeking a wood finish with better water resistance, alternatives such as polyurethane, lacquer, or varnish may be more suitable choices. These finishes offer superior protection against water damage, reducing the maintenance requirements and enhancing the overall durability of the wood surface.
Needs Regular Reapplication
Safeguarding the protective qualities and aesthetic appeal of Danish oil as a wood finish requires regular reapplication to guarantee the wood surface remains adequately preserved and enriched. Establishing a maintenance schedule for reapplying Danish oil is pivotal in maintaining the wood's luster and protection against wear and tear. Typically, it is recommended to reapply Danish oil every 6 to 12 months, depending on the level of usage and exposure to elements.
When it comes to reapplication, mastering the proper application techniques is essential for achieving best results. Before reapplying Danish oil, make sure the wood surface is clean and free of any dust or debris. Apply the oil evenly in the direction of the wood grain using a lint-free cloth or brush. Allow the oil to penetrate the wood for the recommended time before wiping off any excess. Following these application techniques diligently will help enhance the wood's natural beauty and prolong its longevity.
| Maintenance Schedule | Application Techniques | Benefits |
|---|---|---|
| Every 6 to 12 months | Apply evenly along the grain | Preserves wood and enriches appearance |
Potential Color Darkening
Regular reapplication of Danish oil may lead to potential color darkening of the wood surface over time as the oil layers build up and interact with the wood's natural tones. While Danish oil is renowned for its ability to enhance the wood grain and provide a rich, lustrous finish, excessive application can gradually darken the color of the wood. This darkening effect is more pronounced in lighter wood types, altering their original appearance considerably.
As the oil penetrates deeper into the wood fibers with each application, the accumulation of layers intensifies the color transformation, potentially resulting in a shade that differs from the wood's natural hue.
To mitigate the risk of excessive color darkening caused by Danish oil, it is essential to carefully monitor the frequency of reapplication and consider alternative finishes that offer similar benefits without the long-term effects. Additionally, maintenance challenges may arise when trying to restore the wood's original color once significant darkening has occurred, emphasizing the importance of thoughtful application and consideration of alternative finishes to preserve the wood's aesthetic integrity.
Requires Multiple Coats
Achieving a satisfactory finish with Danish oil often requires the application of multiple coats to enhance the wood's appearance and provide long-lasting protection. Before applying Danish oil, proper wood preparation is vital. It is recommended to sand the wood surface thoroughly, starting with a coarse grit sandpaper and progressing to finer grits to ensure a smooth finish that allows the oil to penetrate evenly. Additionally, making sure the wood is clean and free of dust or debris will help the oil adhere effectively.
When applying Danish oil, it's important to follow specific application tips to achieve the desired results. The drying process between coats is equally significant. Allowing each coat to fully dry according to the manufacturer's instructions ensures proper curing and enhances the oil's protective qualities.
Finishing techniques such as applying thin, even coats with a brush or lint-free cloth and wiping off any excess oil can help prevent drips or uneven coverage. By following these guidelines, you can maximize the benefits of Danish oil and achieve a professional-looking finish on your wood projects.
Not Ideal for High-Use Surfaces
When considering finishes for wood surfaces subjected to frequent use and wear, Danish oil may not be the most suitable option due to its limitations in providing long-term durability and protection.
While Danish oil offers a beautiful aesthetic and enhances the natural grain of the wood, it may not withstand the rigors of high-traffic areas or surfaces that are constantly in use.
Here are some reasons why Danish oil may not be ideal for high-use surfaces:
- Maintenance Requirements: Danish oil may require more frequent reapplication and upkeep compared to other finishes to maintain its appearance and protective qualities.
- Durability: In high-traffic areas, Danish oil may not provide the level of durability needed to prevent scratches, dents, and other forms of damage effectively.
- Staining and Protection: Danish oil may not offer the same level of stain resistance and overall protection against liquids, heat, and other potential sources of damage as some other finishes designed for high-use surfaces.
Strong Odor During Application
The application of Danish oil is significantly accompanied by a strong odor that lingers during the finishing process, which may be a concern for individuals sensitive to strong scents or those seeking a more discreet application experience. Proper ventilation is essential when working with Danish oil to mitigate the impact of the strong odor. It is recommended to apply Danish oil in a well-ventilated area or outdoors to reduce the intensity of the smell and prevent it from becoming overwhelming.
When dealing with the strong odor of Danish oil, using appropriate application techniques can also help minimize its effects. One effective technique is to apply thin, even coats of Danish oil instead of applying a thick layer all at once. This method not only helps in achieving a smoother finish but also aids in reducing the overall odor intensity. Additionally, allowing for proper drying time between coats can also assist in dissipating the strong odor more effectively.
Welcome to WoodCraftYard.com, your one-stop destination for all things woodworking! I’m Oliver Candler, a dedicated woodworking aficionado and the creative mind behind this virtual woodworking haven. With a deep-rooted love for craftsmanship and a keen eye for detail, I am on a mission to share my passion for woodworking with fellow enthusiasts like yourself.
As a seasoned woodworker, I am committed to providing you with valuable insights, practical tips, and inspiring project ideas to help you unleash your creativity and master the art of woodworking. Whether you’re a seasoned pro or just starting out on your woodworking journey, join me as we carve, sand, and saw our way through the world of woodworking together.
Let’s embark on this woodworking adventure, where every knot, grain, and finish tells a unique story. Together, let’s craft, create, and build something truly extraordinary at WoodCraftYard.com!


