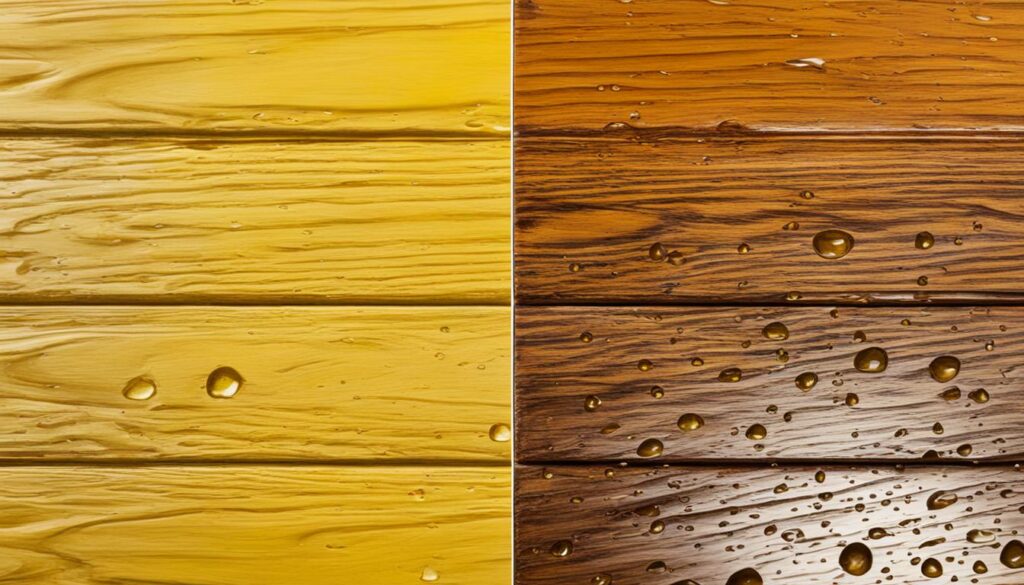
You should definitely buff tung oil to get that perfect wood finish. After applying thin, even coats and allowing each to dry, go over the surface with ultra-fine grit sandpaper or steel wool. This helps smooth out any imperfections and enhances the wood’s natural sheen. Buffing in circular motions further increases the luster. Regular maintenance, like reapplying a fresh coat every 6-12 months and cleaning with mild soap, keeps the finish looking great. If you’re aiming for that flawless wood finish, there are a few more steps to master.
Understanding Tung Oil: Misconceptions and Realities
Many people have misconceptions about tung oil, but understanding its true characteristics and proper use can lead to beautiful, long-lasting wood finishes.
First, let’s debunk some common tung oil misconceptions. Tung oil isn’t a recent invention; it’s been used since ancient China for waterproofing ships. Unlike some oils, the tung oil drying process involves polymerization, not evaporation, forming a solid, protective coating. Pure tung oil does fully cure and harden, contrary to the belief that it never dries.
To achieve the best results, follow proper tung oil application steps. Start with thorough tung oil surface preparation: clean, sand, and remove dust from the wood. Your first coat should be thinned with a solvent like mineral spirits to aid penetration. Apply multiple thin coats, allowing each coat to cure fully.
Tung oil cures to a natural matte or low-satin sheen, enhancing the wood’s beauty. While it boasts excellent water resistance, regular maintenance is key. Apply additional coats every 6-12 months to maintain its appearance and protection.
Pure tung oil benefits include its ability to provide long-lasting protection, making it ideal for wood exposed to moisture.
Why Choose Tung Oil for Your Wood Finishes?
Choosing tung oil for your wood finishes offers numerous benefits that make it a standout option. First, a tung oil finish provides exceptional durability and water resistance. It forms a hard, protective barrier, making it perfect for wood finishing with tung oil on items like outdoor furniture and kitchen utensils. The tung oil benefits include resistance to moisture, alcohol, and acids, ensuring lasting wood protection.
Aesthetic appeal is another reason to opt for tung oil. It enhances the wood grain with a natural, low-luster or satin sheen, unlike some finishes that look plastic-like. Whether you’re working on wood furniture or smaller wood projects, tung oil adds a beautiful amber hue that doesn’t darken over time.
In terms of health and environmental impact, pure tung oil is non-toxic and food safe once fully cured. This makes it ideal for surfaces like cutting boards and children’s toys. Plus, the application and maintenance of a tung oil finish are straightforward. You can easily brush or wipe it on, and the tung oil buffing process helps achieve your desired sheen.
Surface Preparation: The Key to Success
Proper surface preparation sets the foundation for a flawless and durable finish. When you’re aiming for a pristine tung oil wood finishing, this step is indispensable. Ensuring proper adhesion starts with a clean surface—remove dirt, grease, and any loose materials. This isn’t just about cleanliness; it’s about creating a substrate that allows the tung oil to bond effectively, enhancing durability.
Surface profiling through sanding is essential. It not only aids in adhesion but also removes surface blemishes that could mar your final look. Think of it as giving your wood a fresh canvas. Without this, you might face issues like blistering or peeling, ruining all your hard work.
Investing time and money into thorough surface preparation pays off. It prevents premature failures, saving you from costly rework. Plus, a well-prepped surface ensures that your tung oil coats can be buffed to a professional finish, free of imperfections.
Don’t rush this step. Proper surface preparation might seem tedious, but it’s the key to achieving a smooth, long-lasting, and beautiful finish.
Next, we’ll delve into applying tung oil and mastering the art of thin coats.
Applying Tung Oil: The Art of Thin Coats
Applying tung oil in thin coats is important for achieving a smooth, durable finish that enhances the wood’s natural beauty. When applying tung oil to wood, start with a lint-free rag or brush to spread very thin, even tung oil coats. Avoid puddling and thick applications to make certain an even tung oil treatment. After 10-15 minutes, wipe off any excess oil to leave only a thin layer on the surface.
For the initial tung oil application, consider thinning the oil with a solvent like mineral spirits or citrus solvent. A 50/50 mix helps the tung oil penetrate the wood more effectively. Subsequent coats should be applied with full-strength, unthinned oil to build up a proper film. Plan on applying at least 5-7 thin coats, allowing each coat to fully cure before moving on to the next.
Tung oil drying time is important; give each coat 24-48 hours to dry at room temperature. Lightly sand with 320-400 grit paper between coats to improve adhesion. This process ensures a durable finish and excellent tung oil protection.
After the final coat, a full 2-4 week curing period is recommended before heavy use to complete the tung oil finishing.
Do You Buff Tung Oil? The Truth About Sanding
Buffing tung oil can greatly enhance your wood finish, giving it a smooth, high-sheen surface. When you’re aiming for that perfect woodworking finish, tung oil buffing is an essential step. After applying 5-6 coats of tung oil and allowing each coat to fully cure, you can start the buffing process. Polymerized tung oil cures harder and is easier to buff, but both types can achieve stunning results.
Begin by sanding tung oil finishes with ultra-fine grit sandpaper, like 400-600, to remove dust nibs and any imperfections. This initial sanding smooths the surface, setting the stage for effective tung oil polishing.
Next, use 0000 steel wool or ultra-fine synthetic pads, applying a small amount of paste wax or polishing compound as a lubricant. Use a consistent wood buffing technique, whether in straight lines or circular motions, applying moderate pressure.
For higher gloss, progress through finer polishing compounds and pads. Buffing a tung oil finish with patience and care can elevate the natural wood finish, achieving anything from a satin sheen to a high-gloss mirror-like finish.
Accelerating the Curing Process
Speeding up the curing process for tung oil involves several effective techniques.
First, guarantee good air flow around your tung oil projects. Set up fans to blow directly over the surface, promoting faster tung oil polymerization. If you want to go a step further, use a heat source. Place the wood in a warm, sunny spot or use heat lamps positioned safely. This accelerates curing, making it easier to buff tung oil later.
Another useful tip is to thin the first coat of tung oil. Mix it 50/50 with a solvent like mineral spirits. This helps the oil penetrate the wood grain better, expediting the curing process for subsequent coats. For an even quicker finish, consider using polymerized tung oil, which dries faster than pure tung oil.
If maintaining the ‘pure’ nature of tung oil isn’t a priority, you can add drying agents. Mixing boiled linseed oil or shellac with tung oil reduces drying time significantly. Remember, always apply tung oil in thin coats. Thick layers take much longer to dry, delaying your tung oil wood finishes.
Exploring the World of Natural Finishes
Natural wood finishes, derived from plant-based oils and waxes, offer a beautiful and eco-friendly way to protect and enhance your wood projects. Tung oil, a popular choice among woodworkers, highlights the natural grain and color of the wood, giving it a rich, warm glow. But do you buff tung oil? Absolutely! Knowing how to buff tung oil is key to achieving that perfect sheen.
Tung oil finishes aren’t only aesthetically pleasing but also non-toxic and easy to apply. When comparing tung oil vs polyurethane, the former penetrates deeply into the wood, providing a more natural look, whereas polyurethane forms a hard surface layer. For tung oil floors or any other woodworking projects, using quality tung oil brands guarantees a more durable and beautiful finish.
After applying multiple coats and allowing ample curing time, polishing a tung oil finish with fine grit sandpaper and 0000 steel wool will enhance its smoothness. Buffing in circular motions can increase the sheen to your desired level, making your tung oil wood finish stand out.
While tung oil for wood requires more patience, its eco-friendly nature and the ease of repair make it an appealing choice for many woodworking enthusiasts.
Maintaining and Caring for Tung Oil Finishes
In order to keep your tung oil finishes looking their best, it is important to establish a regular maintenance routine. Tung oil finishes can lose their luster over time, so plan to reapply a fresh coat every 6-12 months. For cleaning, use a mild soap and water solution, avoiding harsh cleaners that can dull the finish. Periodically wiping down surfaces with a furniture polish or wax helps protect the finish and adds luster.
For light scratches, rub the area with a tung oil-soaked cloth and buff with a clean one. Deeper scratches may require light sanding and reapplication of tung oil. Remember, tung oil takes several weeks to fully cure, so avoid water exposure and using finished items for food preparation during this period.
Here’s a quick comparison to help you understand the differences and uses:
| Aspect | Tung Oil | Linseed Oil |
|---|---|---|
| Durability | Higher, more water-resistant | Moderate, less water-resistant |
| Application | Multiple coats, longer curing | Fewer coats, quicker curing |
| Best For | Floors, furniture, high-traffic | Low-traffic, decorative items |
| Finish | Natural warm glow | Slightly darker, amber tint |
Welcome to WoodCraftYard.com, your one-stop destination for all things woodworking! I’m Oliver Candler, a dedicated woodworking aficionado and the creative mind behind this virtual woodworking haven. With a deep-rooted love for craftsmanship and a keen eye for detail, I am on a mission to share my passion for woodworking with fellow enthusiasts like yourself.
As a seasoned woodworker, I am committed to providing you with valuable insights, practical tips, and inspiring project ideas to help you unleash your creativity and master the art of woodworking. Whether you’re a seasoned pro or just starting out on your woodworking journey, join me as we carve, sand, and saw our way through the world of woodworking together.
Let’s embark on this woodworking adventure, where every knot, grain, and finish tells a unique story. Together, let’s craft, create, and build something truly extraordinary at WoodCraftYard.com!


