Adding a Danish oil finish to furniture brings a rich look that’s hard to let go of.1 Wondering if painting over Danish oil is an option? This article dives into how compatible Danish oil is with paints, the steps needed before painting, and the best methods for a good paint finish.
If you love furniture like I do, you might want to update your favorites. Danish oil makes wood look great but sometimes change is needed. In this guide, I’ll help with can you paint over danish oil, danish oil paint compatibility, and more. You’ll learn what to do for great results.
Understanding Danish Oil Finish
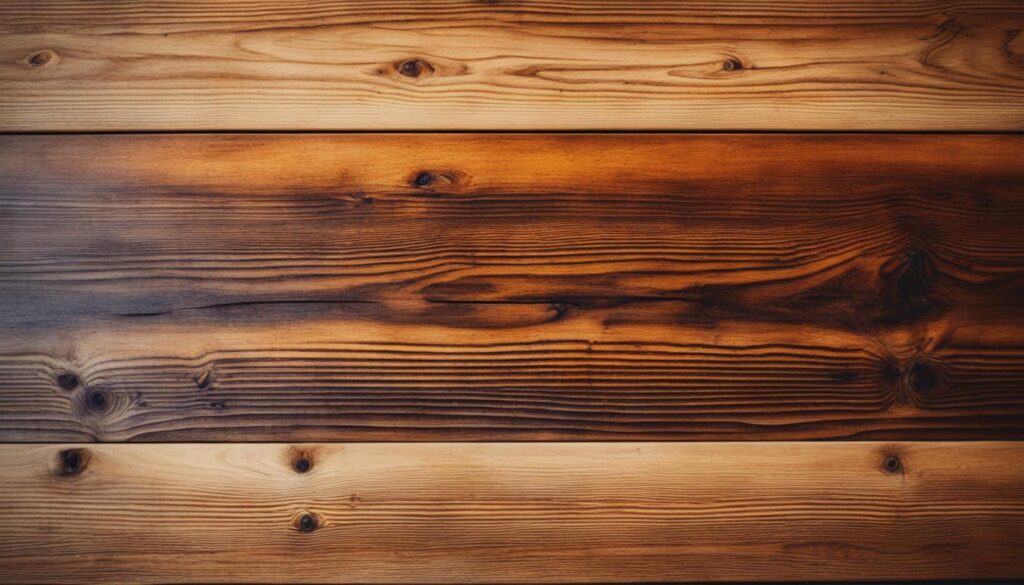
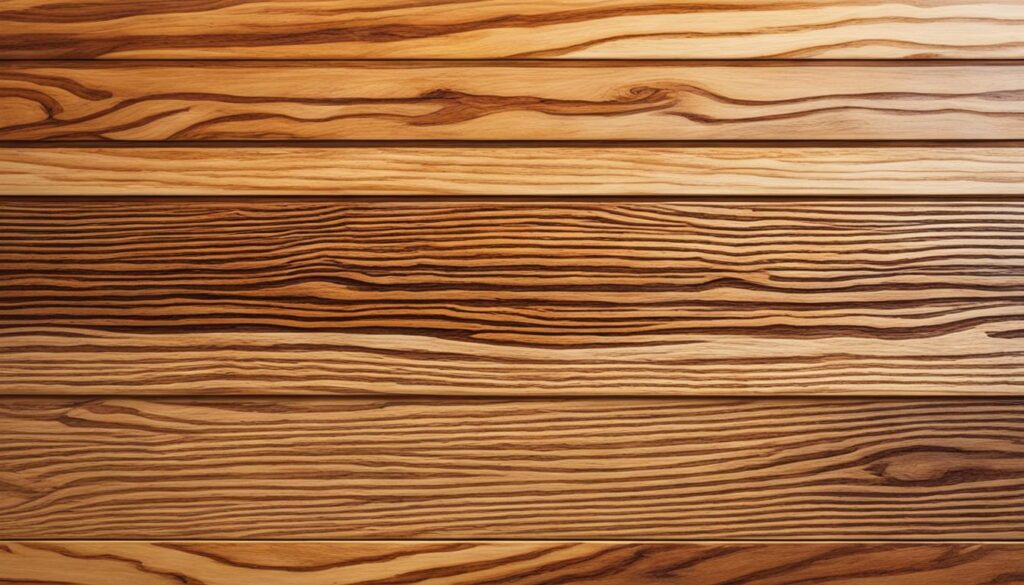
Danish oil is a top choice for finishing wood. It mixes oil and varnish together. This blend includes linseed and tung oils, resins, and solvents. When you apply it, Danish oil goes deep into the wood.2 This highlights the wood’s natural beauty and gives a strong, matte finish. It’s hard to paint over Danish oil. That’s because you need to prepare the surface carefully. Then, wait for it to fully cure before using any paints.
| Danish Oil Composition | Coverage | Drying Time |
|---|---|---|
| Danish oil typically consists of a mixture of around one-third varnish and two-thirds oil.3 | Danish oil provides a coverage of approximately 12.5 m2/L (600 sq. ft./gallon).3 | The finish is left to dry for around 4–24 hours between coats, depending on the mixture being used and the wood being treated.3 |
There’s no one recipe for Danish oil. It can vary a lot, from different oils to oil-like substances.2 This means not all Danish oils are made the same. Ronseal Danish Oil, for example, uses natural oils from things like eucalyptus and tung trees.2 Even though these products are called natural, they could still have some man-made parts.
Using Danish oil comes with some risks. It’s flammable and contains chemicals from things like coal tar.2 This is why you need to be careful when handling it. But don’t worry, applying Danish oil is easy. You just need to wipe it on. This makes it great for anyone, even beginners.2
You should be careful with how you throw away rags or towels with Danish oil on them. It’s crucial to dispose of them safely to avoid starting a fire.2
Preparing Surfaces for Painting
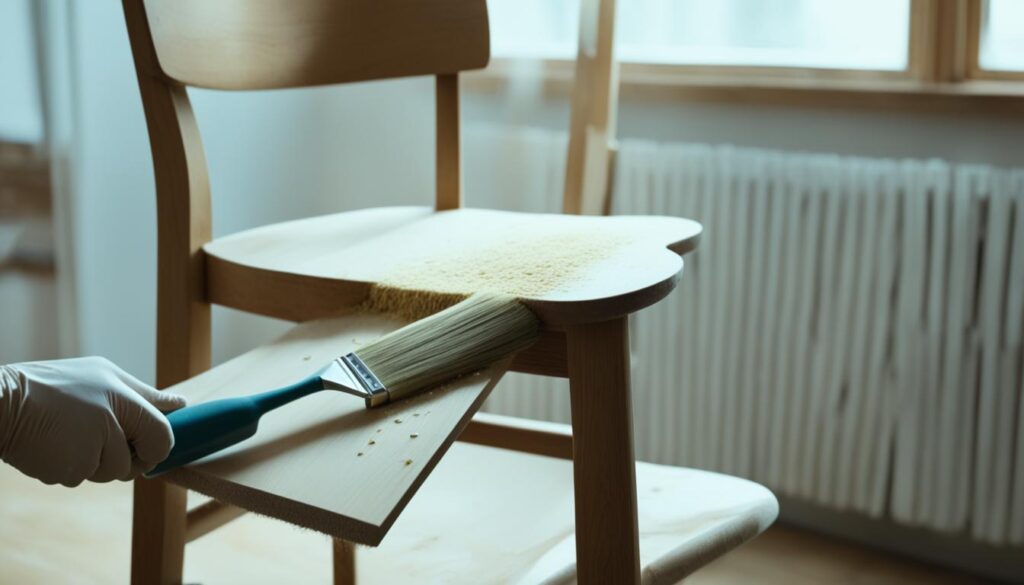
Before painting over a Danish oil finish, you must get the surface ready. Start by making the wood smooth through sanding. This takes off any extra oil. If the Danish oil is old or in bad shape, use a chemical stripper or solvent to remove it all.4
It’s crucial to clean and degrease well. Be sure it’s fully dry before you start painting. Test the paint’s stickiness in a hidden spot to check if it bonds okay.5
Think about using Zinsser to remove the old Danish oil. This gives you a fresh, solid area for painting. The Danish oil maker might also have tips on how to get the timber ready for new paint.6
To get a strong, lasting finish, the surface needs to be well-prepared. This might involve sanding, stripping, or using an undercoat. The aim is to make the wood’s grain visible and prepare a perfect base. Doing this can really change the final look.4
No matter the type of wood, like oak or walnut, using Zinsser and good prep is key. It ensures an end result that lasts.5
If you’re not sure if the paint will stick to the Danish oil, test it on a small spot first. This helps you check the bond and see if more prep is needed. Don’t forget, shellac can work as a good base coat in some situations.6
Getting the surface ready is vital for a successful paint job over Danish oil. Make sure the area is wiped down, dry, and oil-free. Then, you’re set to achieve a long-lasting, pretty painted look.4

Can You Paint Over Danish Oil?
Yes, you can paint over1 Danish oil, but there are key things to consider. It’s vital that the paint works well with the Danish oil finish. Water-based paints might not stick to oil-based Danish oil. This could cause your paint to peel or flake.1
On the flip side, oil-based paints do usually work better over Danish oil.1 Yet, the Danish oil must be totally dry. If any oil is still wet, it might stop the paint from sticking.1
Dialogue surrounding painting over Danish Oil has seen over 6,000 views, 14 replies, and 7 participants. They’ve voiced worries about whether oil finishes can back water-based paints.1 Some suggest using shellac to help the paint stick better over Danish Oil.1
It’s recommended to let the Danish Oil cure for a month before painting it. Plus, for Danish Oil, it’s best to use oil-based paint.1 A proven method involves putting on many shellac coats first when painting over Danish Oil.1
Painting Over Cured Danish Oil
When you paint over cured Danish oil, using oil-based paint or primer is best.1 These stick well to Danish oil. Make sure the Danish oil is completely dry. This can take a few days to weeks. How long it takes depends on the weather.1 If the Danish oil isn’t fully dry, the paint might not stick. Then, you’ll have problems with the paint staying on.1
The thread “Revamp Your Furniture: Can You Paint Over Danish Oil?” was very popular. It had over 6,000 views and 14 replies by December 29, 2017.1 People talked about their experiences painting over Danish oil. Some had trouble with water-based paint sticking.1 Others suggested using shellac before painting over Danish oil. They also said Danish oil should dry for at least 30 days first.1
This discussion also talked about a dark stripe that might show up if you paint over Danish oil. This is because the oil can soak up the moisture from paint.1 People shared stories of using different paints, tape, and shellac to deal with painting over Danish oil.1
To get a good paint job over Danish oil, use the right paint and prep the surface well.7 The Oramask method is popular for painting signs.7 Some users had problems with paint bleeding, even after using Danish oil and Rustoleum paint. They recommended putting Bulls Eye shellac on the wood before painting. This helps stop the bleeding.7 Another user talked about using a mineral oil bath before carving and painting. This was another way to prevent paint from bleeding.7
Knowing about different oils is important when painting over Danish oil.8 For example, some oils dry and some don’t. Drying oils form a solid layer after they’re dry. You can paint over those.8 Danish oil is a mix of drying oil and varnish. It needs to dry before you paint over it.8 But, mineral oil never dries. You can’t paint over it with lacquer or polyurethane.8
Ensuring Proper Adhesion and Durability
To make sure your paint sticks well over Danish oil, follow these steps. Start by lightly sanding the oil to make it rough. This roughness will help the paint stick better4. Then, use a good primer and let each coat dry well. High-quality oil-based paints or varnishes are best for a strong finish.
When painting over Danish oil, good prep work is key. Clean the surface with warm water and a gentle soap. Then, sand lightly with fine paper before adding more oil4. This makes the surface ready for new paint or oil, making sure it sticks well.
Think about how much you’ll need and how often you should reapply the Danish oil. One liter covers about 14 square meters, but this varies. For kitchen tops, think about reapplying every year, based on use4.
To make your Danish oil finishes even better, try mixing in some dyes or additives. For example, mixing Rustins Wood Dye and Danish Oil creates a custom color and finish. Use a ratio of 1 part dye to 3 parts oil4. This lets you personalize the look of your wood.
For a lasting finish, use top-notch oil-based paints or varnishes over cured Danish oil. Wait until the Danish oil is totally dry before painting over it. This step is crucial for the new coat to stick well. It prevents problems like peeling or flaking later on.

Reviving and Refreshing Danish Oil Finishes
Not ready to repaint your Danish oil-finished furniture? You can refresh the finish. Lightly sand the surface first. Then, add a new coat of Danish Oil9. Finally, you can finish with a protective oil-based varnish or polyurethane.9 Keeping the Danish Oil finish fresh makes your furniture look good for longer. It also helps protect the wood from getting damaged.9
Danish Oil has solvents, linseed oil, and varnishes. It’s used in several coats, sinking into the wood.10 When refreshing, Howards Restor-a-Finish is a quick and effective product.10 With regular care, Danish Oil keeps the wood’s beautiful, natural look for many years.9
Apply only one layer of Danish Oil each day. It takes about 15 minutes to soak in.6 It’s best for new, untreated wood.6 When you apply Danish Oil, use Foam Brushes for an even coat, Lint-Free Cloths to pick up extra oil, and De-nibbing Pads for smoothing between coats.9
Source Links
- https://www.lumberjocks.com/threads/milk-paint-over-danish-oil.249442/
- https://paulsellers.com/2019/06/finishing-with-danish-oil/
- https://en.wikipedia.org/wiki/Danish_oil
- https://www.rustins.ltd/rustins/resource-centre/faqs
- https://www.realmilkpaint.com/help/tutorials/how-to-finish-unknown-surface/
- https://www.rawlinspaints.com/blog/wood-oils-no-nonsense-guide/
- https://discuss.inventables.com/t/tips-on-finishing-with-oil-and-paint-on-one-piece-please/62565
- https://kingsfinewoodworking.com/blogs/news/can-i-apply-lacquer-or-polyurethane-over-an-oil-finish
- https://www.furnitureclinic.co.uk/blog/how-to-apply-danish-oil/
- https://audiokarma.org/forums/index.php?threads/howards-restore-vs-minwax-furniture-refinish-vs-watco-danish-oil.885460/
Welcome to WoodCraftYard.com, your one-stop destination for all things woodworking! I’m Oliver Candler, a dedicated woodworking aficionado and the creative mind behind this virtual woodworking haven. With a deep-rooted love for craftsmanship and a keen eye for detail, I am on a mission to share my passion for woodworking with fellow enthusiasts like yourself.
As a seasoned woodworker, I am committed to providing you with valuable insights, practical tips, and inspiring project ideas to help you unleash your creativity and master the art of woodworking. Whether you’re a seasoned pro or just starting out on your woodworking journey, join me as we carve, sand, and saw our way through the world of woodworking together.
Let’s embark on this woodworking adventure, where every knot, grain, and finish tells a unique story. Together, let’s craft, create, and build something truly extraordinary at WoodCraftYard.com!


