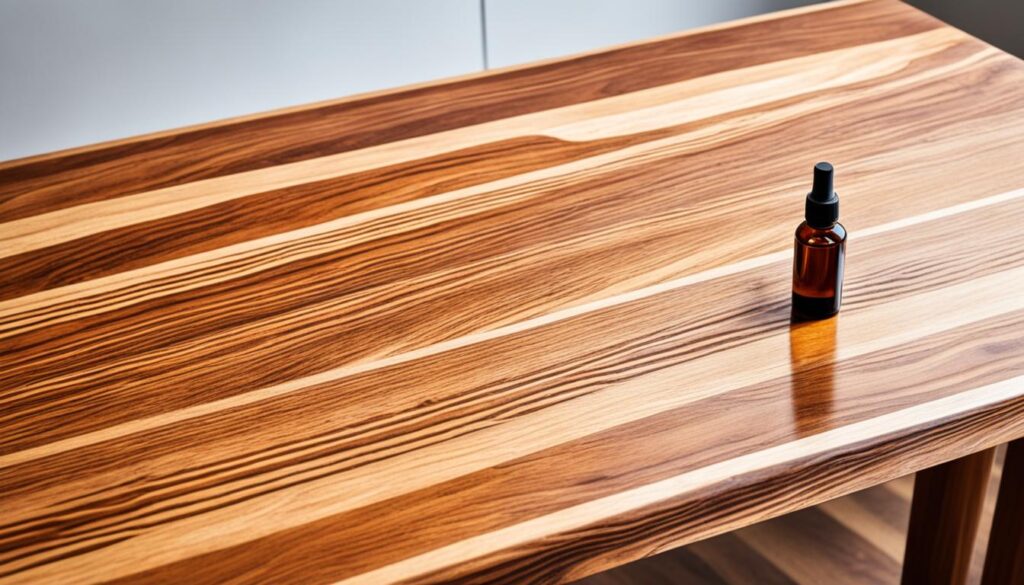
As a woodworking fan, I understand the importance of a good wood finish. It can change a project from so-so to amazing. Choosing between polyurethane and Danish oil is key. Let’s look at the good and bad of each.1
First, think about the type of wood you’re using.1 Different woods take finishes in different ways. Softwoods, like pine, might need a sealer first. This keeps the finish from looking blotchy.
How long the finish lasts is very important.1 You need something that won’t easily scratch or wear off. Both polyurethane and Danish oil can protect the wood.2 BLO is cost-friendly and offers good protection.
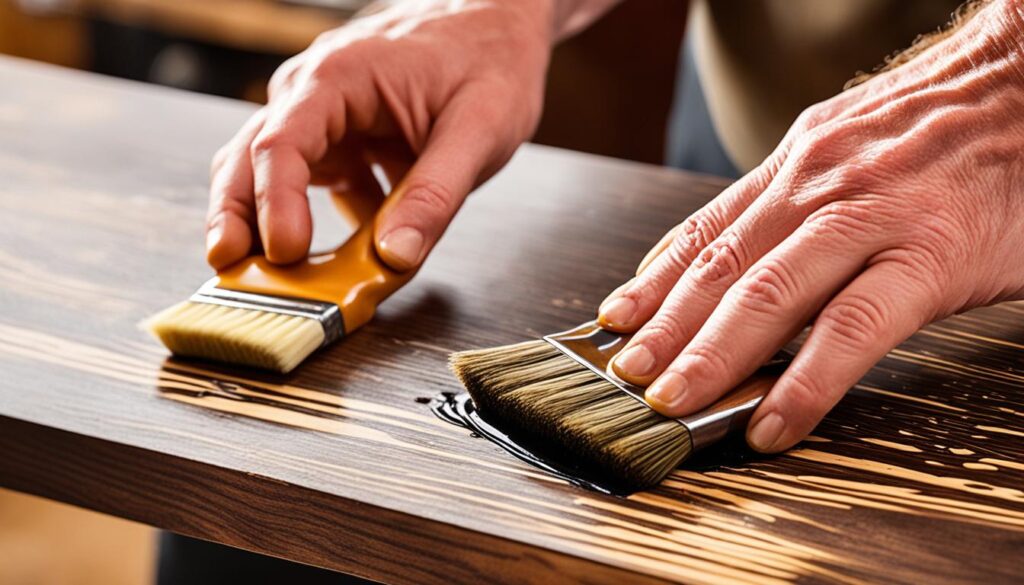
Applying Danish oil and polyurethane is also different.2 Danish oil needs several coats for a solid look.2 Choosing a matte or satin Danish oil can make the finish less shiny. Polyurethane, on the other hand, provides a tough, shiny coat with fewer layers.
Making your own finish is an option.2 Mixing mineral spirits, oil, and polyurethane creates a blend. This can be sanded between coats for a smooth finish. Use fine paper or steel wool after drying for a beautiful, durable result.2
Finally, the choice between polyurethane and Danish oil is up to you. It depends on your project, wood type, and what you like. Both can make your wood beautiful when used right.
Understanding Wood Finishes
Choosing the right wood finishing depends on the wood type. The more porous the wood, the harder it is to apply a finish.3
For a smooth, long-lasting finish, start with a sealer on woods like pine. This stops the finish from soaking in unevenly.3
Knowing the difference between drying oils and non-drying oils is key in picking a wood finishing product. Drying oils harden to protect the wood’s surface, while non-drying ones do not.3
Danish oil is a favorite because it mixes a drying oil with varnish. This mix brings out the wood’s beauty and offers a tough protective finish.3
When using a varnish, choose clear or translucent types like polyurethanes, lacquers, and epoxies. These keep the wood’s natural look. Make sure the oil is totally dry before adding the top coat for the best outcome.3
Drying Times: A Critical Factor
The time it takes for wood finishes to dry is very important.3 Some finishes dry in hours, others in days or weeks. If your project is time-sensitive, picking a quick-drying finish is key.3
Oils can be non-drying or drying based on their iodine number.3 Tung oil dries fast because it scores high in this number.3 Walnut oil and linseed oil are also drying oils.3 However, mineral, coconut, and palm oils are non-drying.3
Knowing about different finishes can help you choose the best one for your project.3 Whether it’s a quick-drying polyurethane or a slower Danish oil, being informed is key.3
Eco-Friendly Wood Finishes
Many wood finishes today harm the planet, made from bad-for-earth materials.4 Now, there are eco-friendly options that work well without damaging our world.4
These eco options include linseed oil, tung oil, and beeswax. They come from nature, leaving out bad stuff like VOCs and lead.4 Plus, they make wood look great and last long.5
Choosing green finishes is smart. Look for ease in putting them on, how fast they dry, and their strength over time. Water-based polyurethane is liked a lot. It’s good value, dries fast, and protects well.5
If you’re into woodworking or want to refresh furniture, go for these green options. They’re good for the earth. Plus, it’s fun to make wood look its best.45

Environmental Protection for Wood Finishes
Wood finishes protect your projects and make them last longer.6 They might face damage from too much humidity or sunlight. This can make the wood change or break over time.6 Luckily, some special finishes can fight these problems and keep your wood looking good.
For things outside,7 Tung Oil and Teak Oil work best. They protect wood from water and weather.7 These finishes also stop UV rays from hurting the wood. They can prevent it from changing color or looking old.6 Also, Lacq, Osmo, and Rubio Monocoat have advanced oils that protect wood well. They work great on many types of wood and last a long time.
6 New generation finishes are different than the old ones. They’re easier to use and dry quicker.6 You might only need one or two coats for strong protection. They’re perfect for outdoor furniture, decking, or even toys and kitchen tools.
Choosing the best finish is important for your projects to stay beautiful and strong.6 There are many eco-friendly, high-quality finishes available. They help you protect your wood and enjoy its natural look for a long time.
Can You Polyurethane Over Danish Oil?
Yes, you can polyurethane over Danish oil for a strong finish on wood.8 It offers Danish oil’s beauty and polyurethane’s protection.
On a forum, a big discussion looked at 94,000 views. It’s about 23 replies and 16 participants deciding between wipe-on poly or Danish oil. They said you should wait a few days before adding poly on Danish oil. This makes sure the Danish oil is fully ready.
Some shared their own stories. They talked about how well Danish oil and polyurethane worked together. They used a 72-hour interval for oil-based polyurethane on Danish oil. People also liked different sheen levels such as satin or glossy. They found these worked well over Danish oil.9
Many people and a forum prefer tung oil-based varnishes like Danish oil and Waterlox. One person used 6 coats of Arm-R-Seal over Watco Danish oil on humidors.8
It’s key to let Danish oil fully dry before polyurethane. Waiting around 5-7 days for Watco Danish Oil to dry is a good idea. The second source suggests using wiping varnishes for easy application. They recommend adding dewaxed shellac before polyurethane as a protective layer.
For a smooth look, they say to polyurethane both the legs and the top of a table. This way, the whole piece has a uniform finish.8
In the end, you can successfully polyurethane over Danish oil. Just make sure to follow the right steps. This will give your wood projects a long-lasting, beautiful finish.98
Applying and Maintaining Oil Finishes
Oil-based products like Danish oil and tung oil bring many benefits.3 They soak deep into the wood, making it strong and long-lasting.3 It’s key to know how to put these oils on and take care of them properly.
The kind of oil you pick is important.3 Drying oils, such as tung oil and linseed oil, form a tough finish.3 Non-drying oils, like mineral oil and coconut oil, aren’t the best choice.3
10Danish oil is a good option since it mixes drying oil with varnish.10 The way you apply it can be different. Some like the fast “wet on wet” way, while others prefer one coat a day.11
11The right environment is a must for oil finishes to dry well. It should be over 10 degrees Celsius and not too humid.11 First, fix any rotten wood and remove old varnish or stains.11
11After you apply it, Danish oil gets better over a week or two.11 But be careful with oils that have synthetic parts. They might not let the wood breathe well.11
Keeping up oil finishes takes work. You might need to add more oil or fix small spots. Learning how to apply and take care of oil finishes makes your projects last and look great.

Expert Insights and Product Recommendations
Being a woodworker has let me try many wood finishes. They all have special benefits. The third source is great for advice on gun stocks and more.12
Tru-Oil stands out as a top choice. It’s great for gun stocks and other woods. People love how it protects the wood but still shows its natural beauty.12
TimberLuxe and Walrus Pure Tung Oil are also great. TimberLuxe is a wonder for protection and shine. Walrus Pure Tung Oil makes wood grains and colors stand out.12
Minwax Antique Oil Finish is easy to use and gives wood a warm look. For before a top coat, woodworkers like using Art’s The Original. This tip comes from expert Greg Morris.12
Source Links
- https://www.oldworldtimber.com/how-to-choose-the-right-wood-finish-for-your-project/
- https://thewoodwhisperer.com/articles/natural-looking-bartop-finish/
- https://kingsfinewoodworking.com/blogs/news/can-i-apply-lacquer-or-polyurethane-over-an-oil-finish
- https://paulsellers.com/2019/06/finishing-with-danish-oil/
- https://abutterflyhouse.com/food-safe-non-toxic-wood-finishes/
- https://www.rawlinspaints.com/blog/wood-oils-no-nonsense-guide/
- https://www.furnitureclinic.co.uk/blog/wood-oil-finishes/
- https://sawmillcreek.org/showthread.php?80386-Wipe-on-poly-over-danish-oil-(or-tung-oil)
- https://www.lumberjocks.com/threads/what-to-use-over-danish-oil.25866/
- https://www.tdpri.com/threads/try-oil-and-or-danish-oil-over-thin-sanded-poly-on-face-of-headstock.1138393/
- https://danish-oil.com/how-to-apply-danish-oil/
- https://www.lumberjocks.com/threads/dewaxed-shellac-over-danish-oil.22712/post-424342
Welcome to WoodCraftYard.com, your one-stop destination for all things woodworking! I’m Oliver Candler, a dedicated woodworking aficionado and the creative mind behind this virtual woodworking haven. With a deep-rooted love for craftsmanship and a keen eye for detail, I am on a mission to share my passion for woodworking with fellow enthusiasts like yourself.
As a seasoned woodworker, I am committed to providing you with valuable insights, practical tips, and inspiring project ideas to help you unleash your creativity and master the art of woodworking. Whether you’re a seasoned pro or just starting out on your woodworking journey, join me as we carve, sand, and saw our way through the world of woodworking together.
Let’s embark on this woodworking adventure, where every knot, grain, and finish tells a unique story. Together, let’s craft, create, and build something truly extraordinary at WoodCraftYard.com!


