Yes, you can wax over Danish oil for enhanced protection and aesthetics. Danish oil, a blend of oils and varnishes, must be fully cured before applying paste wax to guarantee proper adhesion. Wax provides an additional protective layer against moisture, dirt, and wear, while imparting a smooth, low-luster satin finish. Effective waxing involves using high-quality paste wax, applying thin coats, and thorough buffing. However, maintenance is important, as wax may need periodic renewal and surface cleaning. This process can greatly enhance the wood’s visual appeal and durability. For more tips on this meticulous woodworking technique, keep following.
Understanding Danish Oil Finishes
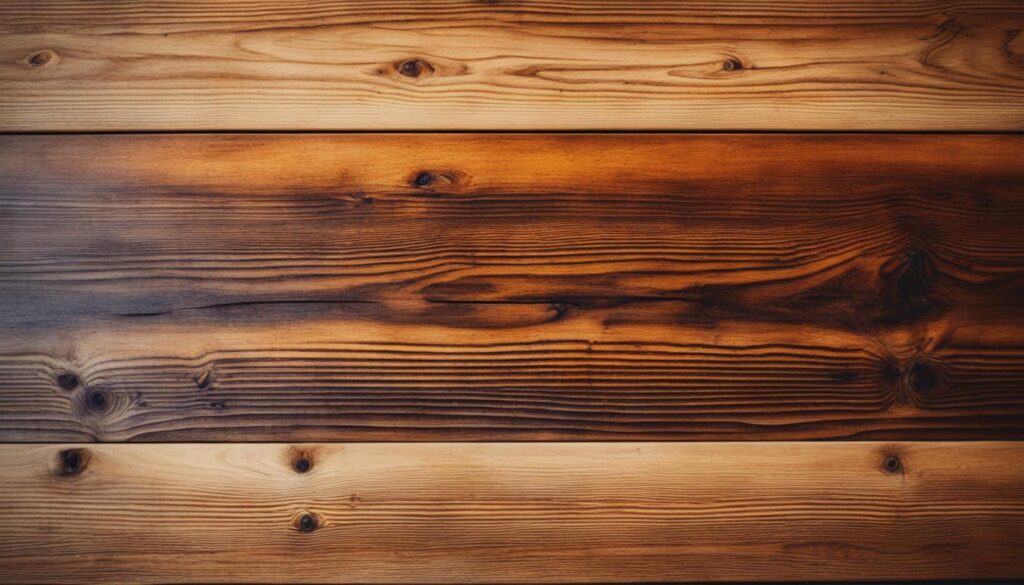
Understanding Danish oil finishes involves examining its composition, application methods, benefits, and limitations to fully appreciate its role in woodworking. Danish oil is not a standardized product but rather a blend of oils such as linseed and tung oil, combined with mineral spirits and varnishes/resins. This blend allows the oil to penetrate deep into wood fibers, creating a durable finish that enhances the wood grain and provides a low-luster satin sheen.
In the world of wood finishing, Danish oil is recognized for its ease of application and surface protection. It can be applied by wiping or brushing onto bare wood in multiple thin coats, with each coat requiring a drying period of 4-24 hours. The oils within Danish oil permeate the wood, ensuring a robust bond that enhances the wood’s natural beauty while offering modest resistance to water and liquids.
Despite these benefits, Danish oil has limitations. Its durability is inferior to film-building finishes such as varnish or polyurethane. Additionally, it demands regular maintenance, including periodic reapplication, to maintain its protective qualities and luster enhancement. This makes it prone to water spotting and marking if not properly maintained. Nonetheless, its non-toxic, food-safe cured state and ease of application make it a favored choice in woodworking.
Applying Danish Oil Finish
Achieving a perfect Danish oil finish necessitates meticulous surface preparation and a methodical application process to guarantee ideal absorption and durability. Begin by sanding the wood surface smooth, progressing up to 220 grit sandpaper or higher, and ensuring all dust is removed with a tack cloth or vacuum. If the wood has an existing finish, it must be completely stripped using sanding or a chemical stripper.
Before application, stir or shake the Danish oil thoroughly. For best absorption, some brands recommend applying a wood conditioner first. Using a lint-free cloth, brush, or foam applicator, apply the first coat liberally along the wood grain, allowing it to soak for 10-20 minutes. Wipe off any excess oil post-soak to prevent surface drying.
Allow the first coat to dry, typically for 4-8 hours, before lightly sanding with 320-400 grit sandpaper or synthetic abrasive pads. Apply subsequent coats using the same method, with the option to wet sand at this stage to fill the grain.
To maintain the finish, consider oil renewing annually or when the wood appears dull. Recoating considerations involve ensuring the surface is clean and lightly sanded. After full curing, wax application and buffing can enhance protection and luster, contributing to long-term wood maintenance.
Can You Wax Over Danish Oil?
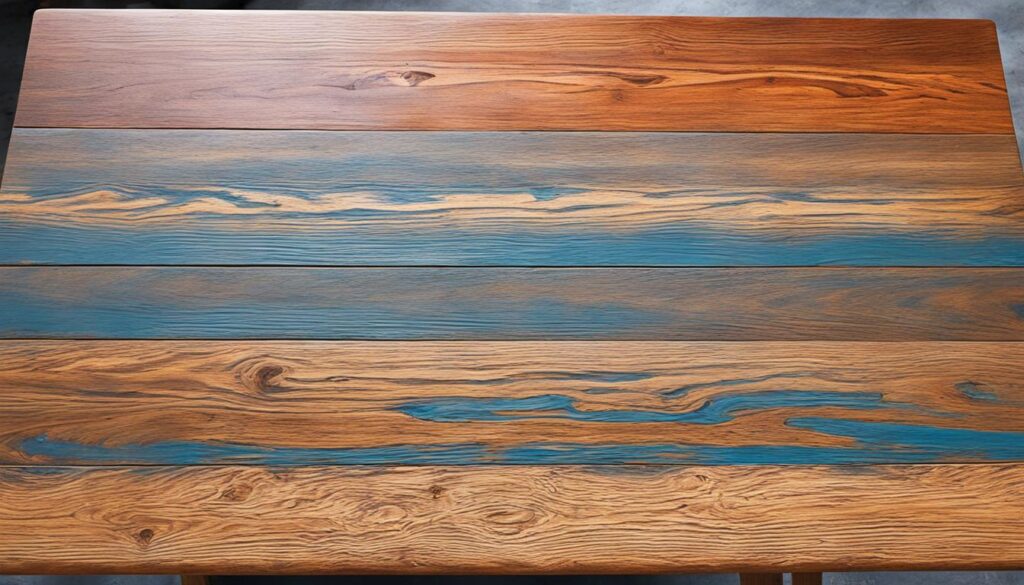
Applying a coat of paste wax over fully cured Danish oil can greatly enhance the wood’s protection and aesthetic appeal. The curing time for Danish oil is crucial; typically, it requires 24-48 hours after the final coat to guarantee the oil is fully set. If the oil is not thoroughly cured, the paste wax will fail to adhere properly, compromising the finish.
Once the curing time is met, applying paste wax offers several benefits. It adds an additional layer of protection and imparts a low-luster satin sheen, which enhances the wood’s natural beauty. This finish also provides a smoother feel, helping to minimize fingerprints and smudges.
For effective application, follow these application tips: use a high-quality paste wax rather than liquid wax, apply a very thin coat, and buff it out thoroughly for an even finish. It is often advisable to wax only the top surface instead of the entire piece to achieve the best possible results.
Maintenance is essential for preserving the wax finish. The wax coat will need periodic renewal, generally on an annual basis, as it becomes dull. Prior to recoating, the old wax should be removed using mineral spirits or naphtha, ensuring the surface is ready for a fresh layer of Danish oil and wax.
Advantages of Waxing Over Danish Oil
Waxing over Danish oil provides a multitude of benefits, including enhanced protection, enriched appearance, low maintenance, and the option for food-safe finishes. This combination is particularly advantageous for woodworking projects where both aesthetics and durability are paramount.
Enhanced Protection: Wax forms an additional protective layer that shields the wood from moisture, dirt, and everyday wear. This added layer also offers fingerprint resistance, minimizing unsightly smudges on the surface.
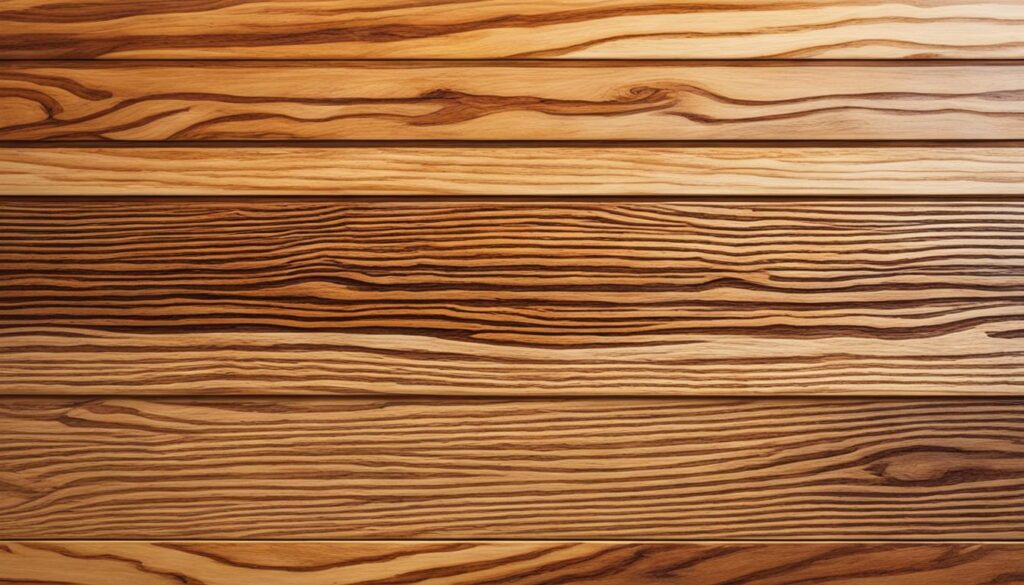
Enriched Appearance: Applying wax over Danish oil enhances the natural wood grain and imparts a soft sheen or low luster, enriching the wood’s overall appearance. The wax can be easily applied and buffed to achieve the desired finish, providing a smooth and tactile feel.
Low Maintenance: One of the most significant benefits of waxing is its low maintenance. The wax coat can be renewed periodically by simply cleaning the surface and reapplying a new layer of wax, eliminating the need to strip the entire finish. This process helps refresh and revitalize the Danish oil finish over time.
Food-Safe Option: Certain paste waxes are formulated to be food-safe, making them suitable for use on items like wood bowls and utensils. This guarantees that the finish is not only beautiful but also safe for food contact.
Disadvantages of Waxing Over Danish Oil
One notable disadvantage of waxing over Danish oil is the limited durability of the wax layer, as it provides only a thin, temporary shield compared to more robust film-building finishes like polyurethane or lacquer. This durability limitation means the wax coating is prone to abrasion and wear, especially on high-use surfaces, necessitating frequent maintenance.
Maintenance requirements for waxed surfaces are significant. The wax layer typically needs to be renewed every 6-12 months, depending on the extent of use. This renewal process involves cleaning the surface, potentially stripping the old wax, and reapplying a new coat, which is labor-intensive and time-consuming.
Additionally, if the Danish oil beneath is not fully cured before waxing, there is a risk of potential gumming. Excess wax that is not adequately buffed can also result in a sticky buildup over time.
Another critical issue is the incompatibility with future finishes. Once wax is applied over Danish oil, it complicates the application of different film-building finishes in the future, such as polyurethane. Complete wax removal is necessary before applying these finishes, further adding to the labor burden.
Lastly, while Danish oil itself is easily repairable, the wax top coat is less amenable to spot repairs if damaged.
Preparation for Waxing Over Danish Oil
Thorough preparation is paramount for achieving a high-quality wax finish over Danish oil. This process starts with guaranteeing the oil has fully cured and the surface is meticulously cleaned and smoothed.
Proper preparation involves several critical steps to secure peak finish compatibility and adhesion of the wax.
Curing: Allow the Danish oil to fully cure, typically waiting 24-48 hours after the final coat. This guarantees the oil has hardened and will not interfere with the wax application.
Surface Cleaning: Clean the surface thoroughly to remove any contaminants such as grease and fingerprints. Use mineral spirits to dissolve and eliminate oil residue effectively. For surfaces that have been previously waxed, naphtha may be required to fully remove old wax coatings before refinishing.
De-nibbing: Lightly sand or de-nib the surface using 320-400 grit sandpaper or synthetic abrasive pads. This step removes any dust, nibs, or imperfections, creating a smooth base for waxing.
Dust Removal: After sanding, use a tack cloth or vacuum to remove all dust particles, securing a pristine surface ready for wax application.
Recommended Wax Products for Danish Oil
Selecting the appropriate wax product to apply over Danish oil is essential for achieving an ideal finish, with paste waxes containing carnauba being highly recommended for their ability to enhance protection and luster. These waxes not only provide a low luster sheen but also contribute to pore filling, offering a smooth and refined surface.
Here are some highly recommended paste waxes:
| Brand | Type | Key Features |
|---|---|---|
| Briwax Original | Clear | Enhances protection, low luster |
| Liberon Black Bison | Clear | High durability, great for spot repairs |
| Feast Watson | Natural/Dark | Contains carnauba wax, excellent for wax renewal |
| U-Beaut Traditional | Natural | Smooth feel, easy application |
| Renaissance Wax | Clear | Superior protection, long-lasting finish |
Using these high-quality paste waxes ensures that the Danish oil finish remains protected while maintaining an appealing aesthetic. Application should be executed only after the Danish oil has fully cured, typically 24-48 hours following the final coat. A thin layer of wax, meticulously buffed, achieves excellent results. Periodic wax renewal, usually annually, is necessary due to the natural wear over time. These wax products are excellent for both enhancing the overall finish and performing spot repairs, ensuring the wood remains in pristine condition.
Maintaining a Waxed Danish Oil Finish
Maintaining a waxed Danish oil finish involves a systematic approach to guarantee the longevity and aesthetic appeal of the wood surface. This ongoing process guarantees that the protective layers remain effective and the wood retains its original charm.
Wax Renewal: The paste wax topcoat over Danish oil needs periodic renewal, typically every 6-12 months. Start by thoroughly cleaning the surface to remove grease and contaminants using a solvent like mineral spirits or naphtha. Next, apply a fresh, thin coat of paste wax. Let it haze, then buff it out thoroughly with a clean cloth.
Reviving the Oil Base: Over time, the underlying Danish oil finish may appear dull. Use a product like Watco Rejuvenating Oil, which contains mineral spirits to dissolve old wax and revitalize the oil. Alternatively, a 50/50 mix of Danish oil and mineral spirits can be applied with 0000 steel wool. Let it soak for 10 minutes, then wipe off the excess.
Spot Repairs: For scratches or heat damage, lightly sand the affected area down to the bare wood. Reapply Danish oil to rebuild the finish, let it cure fully, and then reapply wax for an even appearance.
Maintaining: Regularly renewing the wax topcoat, reviving the oil base with solvents, and performing spot repairs as needed will maintain an even, revitalized waxed Danish oil finish over time.
Welcome to WoodCraftYard.com, your one-stop destination for all things woodworking! I’m Oliver Candler, a dedicated woodworking aficionado and the creative mind behind this virtual woodworking haven. With a deep-rooted love for craftsmanship and a keen eye for detail, I am on a mission to share my passion for woodworking with fellow enthusiasts like yourself.
As a seasoned woodworker, I am committed to providing you with valuable insights, practical tips, and inspiring project ideas to help you unleash your creativity and master the art of woodworking. Whether you’re a seasoned pro or just starting out on your woodworking journey, join me as we carve, sand, and saw our way through the world of woodworking together.
Let’s embark on this woodworking adventure, where every knot, grain, and finish tells a unique story. Together, let’s craft, create, and build something truly extraordinary at WoodCraftYard.com!