The smell of Danish oil typically lasts from days to several months, influenced by factors like formulation, application thickness, wood type, and environmental conditions. Higher solvent content and thicker coats prolong odor duration. Effective ventilation and temperature control can expedite dissipation. Applying thin coats, allowing ample curing time (1-2 weeks), and sealing with low-odor polyurethane or shellac reduces lingering smells. Proper disposal of oil-soaked materials is essential to prevent safety hazards. For those seeking detailed strategies to manage and mitigate Danish oil odors, further technical insights are available.
Understanding Danish Oil
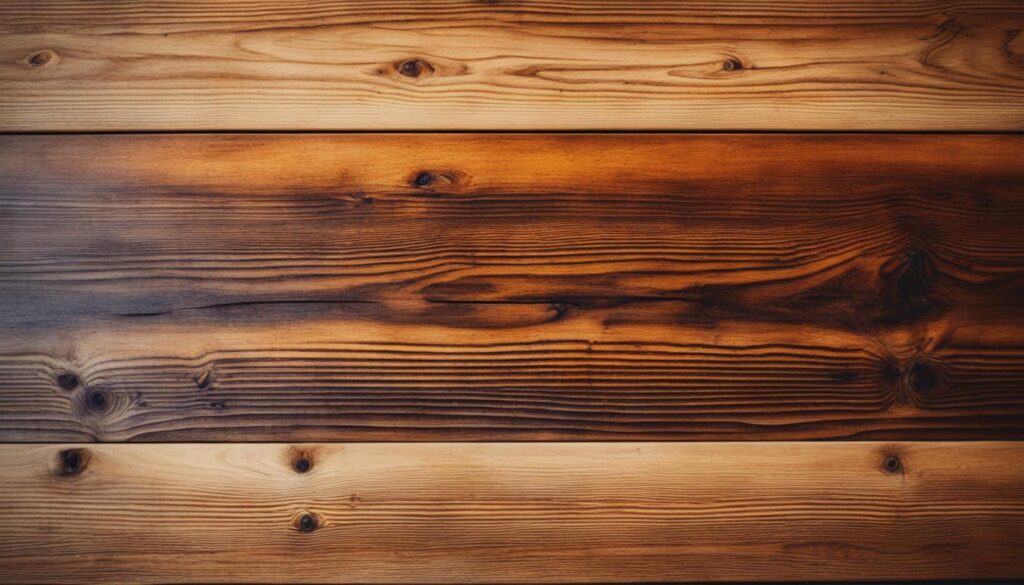
Understanding Danish Oil begins with an examination of its composition, which typically includes a blend of penetrating drying oils, resins, and solvents designed to nourish and protect wood from within. This formulation often includes linseed oil, tung oil, or other vegetable oils, combined with resins or varnishes, and solvents like mineral spirits. The unique blend ensures that Danish Oil penetrates deeply into the wood, providing a durable and natural finish.
The application process is straightforward, involving the liberal application of the oil, allowing it to soak in for 15-20 minutes, and then wiping off the excess. Multiple coats, typically 2-3, are recommended for best results. However, this process can result in a strong initial odor due to the solvents and oils used. Danish oil fumes can be quite potent, necessitating adequate ventilation during application.
The danish oil smell duration can vary significantly, often lingering for several days to weeks. Effective ventilation is important to removing Danish oil smell and mitigating the impact of Danish oil fumes. Safety precautions should be observed to avoid prolonged exposure to the lingering Danish oil scent, especially in confined spaces. The curing process, where the oil fully polymerizes, can extend over several months, during which a faint Danish oil odor may persist.
Factors Affecting the Smell of Danish Oil
The importance of Danish oil‘s smell is greatly influenced by its formulation, application process, wood type, and environmental conditions during curing.
Danish oil formulation plays a key role in determining the duration of its odor. Products containing higher percentages of natural drying oils, such as tung or linseed oil, typically emit less odor compared to those with more solvents like mineral spirits or naphtha. These Danish oil solvents are primary contributors to lingering Danish oil fumes, often persisting for weeks.
The application process has a notable impact on the Danish oil smell duration. Heavier applications result in stronger and longer-lasting odors. Proper curing of Danish oil, which can span from several weeks to months, is essential for the smell to fully dissipate. Factors such as warm temperatures and ideal Danish oil ventilation requirements can expedite solvent evaporation and oil polymerization, reducing odor.
Wood type also affects the odor. More porous woods absorb more oil, leading to increased odor. Projects with larger surface areas exposed will experience prolonged Danish oil drying time and residual smell until fully cured.
Lastly, user sensitivity to Danish oil odor varies. Some individuals may perceive the smell longer than others. To minimize Danish oil smell, use products with fewer solvents, apply thin coats, and ensure adequate ventilation and curing time.
Typical Duration of the Danish Oil Smell
The typical duration of the Danish oil smell, influenced by factors such as solvent content, application thickness, and environmental conditions, generally extends from several days to a few months. The initial strong odor of Danish oil stems from its solvent components, such as mineral spirits and naphtha, combined with natural oils like linseed oil. Under ideal conditions of good ventilation and warmth, the Danish oil odor duration can typically last 1-2 weeks. However, in cooler environments or enclosed spaces, the smell may persist notably longer, potentially up to several months.
Understanding what’s the smell of Danish oil helps in managing its dissipation. The odor, often citrus-like or reminiscent of linseed oil, can be particularly intense immediately following application. This strong initial aroma gradually fades as the solvents evaporate and the oil polymerizes. However, why does it keep smelling even after years in some cases? This can occur due to incomplete curing, especially in tightly enclosed spaces where airflow is restricted.
To address how to get rid of the Danish oil smell more effectively, make sure proper ventilation during and after application. Additionally, recognizing can Danish oil fumes be hazardous is essential; prolonged inhalation of solvent vapors can be harmful. Hence, knowing how to work with Danish oil properly, including using adequate ventilation and protective equipment, is essential for health and efficient odor dissipation.
Sealing and Enclosing Danish Oil Finishes
Properly sealing and enclosing Danish oil finishes necessitates an understanding of the oil’s curing process and the impact of environmental conditions on odor dissipation. Danish oil, composed of drying oils and solvents, requires a curing period of at least 1-2 weeks under ideal conditions of warmth and ventilation. During this time, the oil polymerizes, gradually reducing its odor. However, in favorable temperatures or well-ventilated spaces, the curing process can extend to several months, prolonging the presence of odors.
Sealing Danish oil with a topcoat, such as polyurethane, lacquer, shellac, or wax, should only be attempted once the oil has fully cured. Applying a sealer prematurely can result in poor adhesion and the entrapment of odors, leading to long-lasting smell issues. Oil-based polyurethane is often recommended due to its compatibility with Danish oil, but water-based options are also viable.
Special consideration is required for enclosed spaces, such as cabinets and drawers, where Danish oil odors can linger indefinitely due to limited airflow. For such projects, finishes that do not rely heavily on oils or solvents for curing, like shellac or lacquer, are more suitable alternatives. Ensuring proper curing before sealing or enclosing is essential for achieving odor-free, durable finishes.
Minimizing and Eliminating Danish Oil Odors
Addressing the challenge of minimizing and eliminating Danish oil odors necessitates a thorough approach that incorporates both preventative measures during application and effective strategies for dealing with lingering smells post-application. Effective odor management can be achieved by understanding the formulation of Danish oil and its curing process.
During application, consider these preventative measures:
Use Natural Oil-Based Products: Opting for Danish oils with higher percentages of natural oils (such as tung or linseed) rather than those high in solvents can greatly reduce the initial odor.
Apply Thin Coats: Applying thin coats and wiping off excess oil not only facilitates faster curing but also minimizes the intensity of the odor.
Optimize Environmental Conditions: Ensuring good ventilation, adequate warmth, and low humidity can accelerate the curing process, thereby reducing the duration of the smell.
Allow Ample Curing Time: Allow a minimum of 1-2 weeks for curing before enclosing or using the finished piece, as proper curing is essential for odor dissipation.
For lingering odors, consider these solutions:
Deodorizing Agents: Using white vinegar or solvents like lacquer thinner can help neutralize residual smells.
Sealing with Shellac: Applying 1-3 coats of shellac after the Danish oil has fully cured can effectively seal in any remaining odors.
Alternative Finishes: In enclosed spaces, consider using finishes like shellac, lacquer, or water-based acrylics, which have lower odor profiles.
Stripping and Refinishing: As a last resort, stripping off the Danish oil and refinishing with a different product can eliminate persistent odors.
Safety Considerations with Danish Oil Fumes
Understanding the safety considerations associated with Danish oil fumes is essential for ensuring a safe working environment and minimizing health risks during application and curing. Danish oil formulations often contain hazardous ingredients such as mineral spirits, naphtha, and other petroleum distillates, which can emit harmful vapors. Additionally, compounds like cobalt driers and ketoximes may provoke allergic reactions or exhibit toxic properties.
Inhalation of these solvent vapors can lead to respiratory irritation, headaches, dizziness, and drowsiness, particularly in confined spaces. The odors from drying oils like linseed and tung oil can exacerbate these effects. Hence, proper ventilation is crucial to facilitate the dissipation of these fumes. Working in enclosed spaces without adequate airflow significantly prolongs the presence of hazardous vapors.
Personal protective equipment (PPE) is strongly recommended. Safety data sheets advise wearing respirators, especially when spraying Danish oil or working in poorly ventilated areas. Additionally, gloves and eye protection should be used to prevent skin and eye irritation.
The strong solvent odors are most intense during initial application and can persist for 1-2 weeks or more. Proper disposal of rags and applicators is also essential to prevent spontaneous combustion due to heat buildup from drying oils.
Tips for Working with Danish Oil
Applying Danish oil involves a meticulous process to guarantee a high-quality finish, starting with the liberal application using a rag or brush and allowing the oil to soak in for 15-20 minutes before wiping off any excess. This ensures that the wood absorbs the oil properly, enhancing its natural beauty and durability.
Here are some essential tips for working with Danish oil:
Application Technique: Apply the oil in thin coats, typically 2-3 coats, with light sanding between each coat using fine-grit sandpaper. This helps in achieving a smooth and even finish. Keep the surface wet by reapplying oil until it stops absorbing.
Drying and Curing: Allow each coat to dry for at least 24-48 hours. Proper curing can take a minimum of 1-2 weeks under ideal conditions of warmth and good ventilation. Ensuring adequate drying time prevents tackiness and enhances the durability of the finish.
Odor Management: Given that some odor is expected initially, ensure good ventilation to expedite the curing process and minimize lingering smells. In enclosed spaces, consider sealing with shellac once fully cured to further mitigate odors.
Safety Precautions: Always work in a well-ventilated area and use protective gear such as gloves and eye protection. Be cautious with disposal, as oil-soaked rags can combust if not handled properly.
Welcome to WoodCraftYard.com, your one-stop destination for all things woodworking! I’m Oliver Candler, a dedicated woodworking aficionado and the creative mind behind this virtual woodworking haven. With a deep-rooted love for craftsmanship and a keen eye for detail, I am on a mission to share my passion for woodworking with fellow enthusiasts like yourself.
As a seasoned woodworker, I am committed to providing you with valuable insights, practical tips, and inspiring project ideas to help you unleash your creativity and master the art of woodworking. Whether you’re a seasoned pro or just starting out on your woodworking journey, join me as we carve, sand, and saw our way through the world of woodworking together.
Let’s embark on this woodworking adventure, where every knot, grain, and finish tells a unique story. Together, let’s craft, create, and build something truly extraordinary at WoodCraftYard.com!