Sanding off Danish oil involves intricate steps due to its deep penetration and protective properties. Using fine-grit sandpaper (220-320) can partially remove the finish. However, combining sanding with chemical strippers like methylene chloride-based products or citrus-based alternatives guarantees thorough removal. Additional tools such as acetone and scraping aids enhance this process. For best results, follow with progressive sanding and consider protective measures when handling chemicals. Preparation is key to successful surface refinishing. By addressing these complexities, a deeper understanding of Danish oil removal and wood preparation can be achieved.
Understanding Danish Oil Finishes
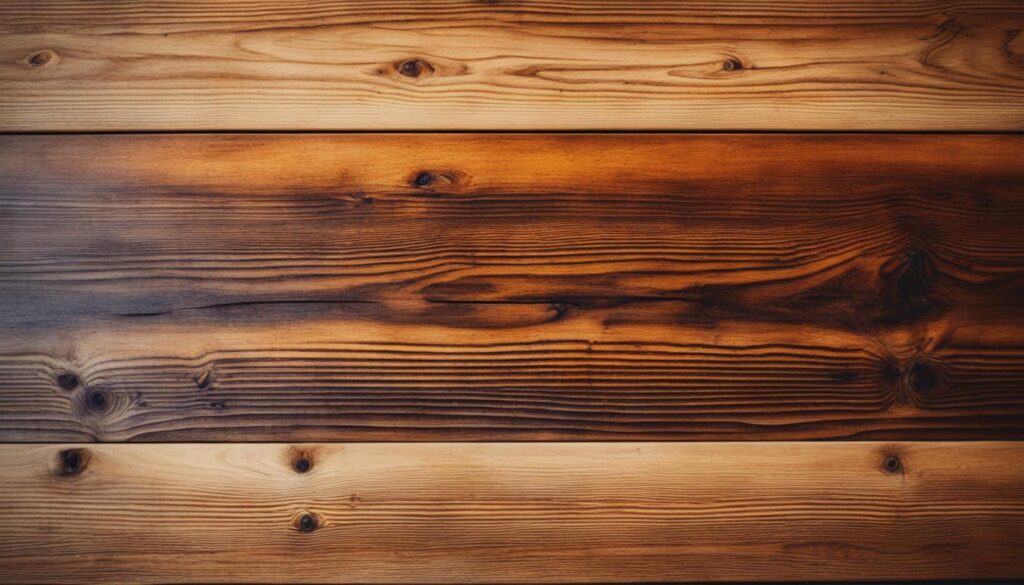
Understanding Danish oil finishes involves delving into the complex composition and unique properties of this versatile wood finishing oil, which is often formulated from a blend of tung oil, linseed oil, mineral spirits, and varnish or polyurethane resins. The exact formulation of Danish oil varies among manufacturers, allowing for proprietary blends that cater to specific wood finishing needs. Despite these variations, Danish oil retains certain core characteristics that make it a popular choice for woodworkers.
As a hard-drying oil, Danish oil is capable of polymerizing into a solid form, providing a durable, water-resistant finish. This oil-based finish penetrates deeply into the wood, offering protection from within rather than merely coating the surface. The result is a low-sheen, satin or semi-gloss finish that enhances the natural grain of the wood without imparting a plastic-like appearance.
Proper surface preparation is essential for achieving the best results with Danish oil. Sanding the wood up to a fine 220-320 grit ensures a smooth surface for optimal oil absorption.
Application typically involves wiping finishes, where the oil is applied liberally with a cloth or brush, allowed to soak in, and excess oil is wiped off. Multiple thin coats, often 3-5, with light sanding between each, are recommended for an excellent finish.
Can You Sand Off Danish Oil?
Sanding off Danish oil is a meticulous process that involves using fine-grit sandpaper, typically between 220 and 320, to effectively remove the finish while minimizing damage to the wood surface. This method is particularly challenging due to the nature of Danish oil as a penetrating finish, which seeps deep into the wood grain, especially in more porous woods.
To guarantee the sanding process is effective, it is often necessary to incorporate additional methods. Chemical strippers can be used alongside sanding to fully remove Danish oil. Some recommended chemical strippers include:
- Methylene chloride-based strippers – Highly effective but may have restrictions for non-professional use.
- Acetone or mineral spirits – Common solvents that can assist in breaking down the oil.
- Citrus-based strippers – Eco-friendly options like Citristrip, which are less harsh on the user and environment.
- Scraping tools – While not as efficient as sanding and chemical strippers, they can aid in the initial removal process.
The combination of these methods ensures a thorough removal of the Danish oil, preparing the wood for a new finish. Sanding alone may not suffice, particularly for deeply penetrating finishes, necessitating the use of chemical strippers to achieve a clean surface for refinishing wood.
Stripping Danish Oil: An Alternative Method
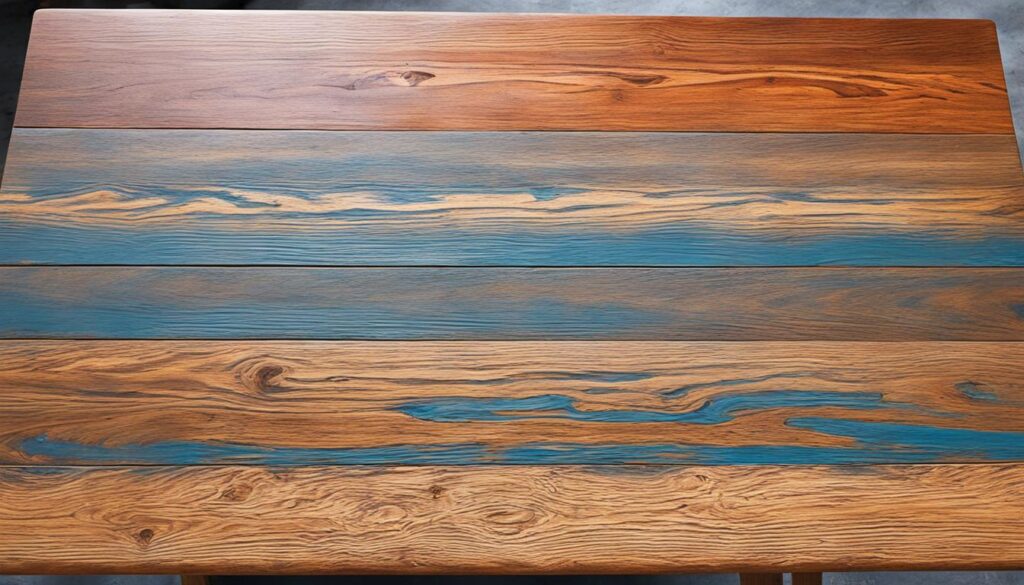
Utilizing oxalic acid wood bleach provides a viable alternative for stripping Danish oil from wood surfaces. This method offers a chemical way to lighten and remove the oil’s penetration into the grain. The process involves using oxalic acid in powdered form, mixed with warm water per the product instructions, to create an effective bleaching solution.
The solution is then applied liberally to the Danish oil-finished surface and allowed to soak for 15 to 30 minutes. During this time, scrubbing the surface with a stiff bristle brush or Scotch-Brite pad enhances the penetration into the wood grain and pores.
After the solution has had time to work, a thorough rinse with clean water is necessary, followed by complete drying. Once dry, sanding techniques using progressively finer grits (e.g., 120 -> 180 -> 220) can remove residual Danish oil more effectively. The oxalic acid not only bleaches and lightens the wood but also facilitates the removal of oil from deep within the wood fibers, a task that sanding alone might struggle to achieve.
When using this method, it is crucial to use protective equipment like gloves and eye protection due to the caustic nature of oxalic acid. Post-rinsing, ensure to neutralize the acid with a baking soda and water solution. This approach, while labor-intensive, presents an effective alternative to conventional chemical strippers for stripping finishes from wood surfaces.
Preparing the Surface for a New Finish
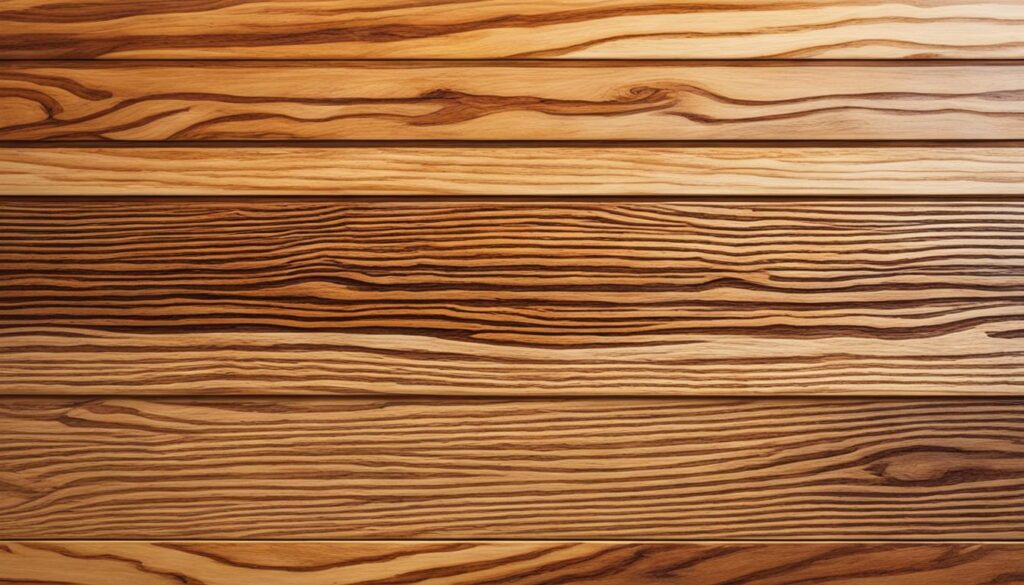
After successfully stripping the Danish oil, the next step involves meticulously preparing the wood surface to guarantee excellent adhesion and a flawless finish for the new stain, paint, or varnish. Begin by thoroughly cleaning the wood to remove any lingering dirt, grease, or oils. Use a degreaser, mild detergent, or wood cleaner to make certain the surface is pristine.
Next, proceed with sanding the wood. Start with a coarse sandpaper, typically 80-120 grit, to strip away any remaining finish or surface imperfections. Gradually progress to finer sanding grits like 150, 180, and 220 to eliminate scratches and create a smooth surface. The final sanding should be done with 220-320 grit sandpaper or 0000 steel wool to achieve excellent smoothness without clogging the wood pores.
The final sanding should be done with 220-320 grit sandpaper or 0000 steel wool to achieve excellent smoothness without clogging the wood pores.
Repair Imperfections: Fill any cracks or holes with wood filler or putty, ensuring a seamless surface once dry and sanded.
Seal End Grains: Apply a wood conditioner or sealer to end grains to prevent blotchiness and ensure even stain penetration.
Raise the Grain: Lightly mist the surface with water to raise the grain, then sand lightly once dry.
Remove Dust: Thoroughly clean the surface of all sanding dust using a vacuum, tack cloth, or a rag dampened with mineral spirits.
These steps make sure the wood, regardless of wood species, is perfectly primed for outstanding finish adhesion.
Danish Oil Refinishing Techniques
To achieve a professional-grade finish using Danish oil, start by thoroughly preparing the wood surface to guarantee ideal oil absorption and adhesion. Begin by sanding the existing finish down to bare wood, progressing through grits up to 220 or 320 for a smooth surface. Make sure removal of any wax, dirt, or grease that might impede oil absorption. Lightly mist the wood with water to raise the grain, then perform a final light sanding.
| Step | Action |
|---|---|
| Surface Preparation | Sand to bare wood, remove contaminants, raise grain |
| Initial Oil Application | Apply liberally, soak for 10-30 minutes, wipe excess |
| Drying Period | Let the first coat cure for 24-48 hours |
| Building the Finish | Sand lightly, apply 2-3 thin coats, wet sand final |
| Maintenance | Reapply yearly, clean with mild soap, repair scratches |
Applying Danish oil involves using a lint-free cloth or brush, working along the wood grain. Let the oil soak in for 10-30 minutes, reapplying to dry areas, and then wipe off the excess. Allow the first coat to cure for 24-48 hours. For building the finish, lightly sand with 320-400 grit between coats and apply at least 2-3 thin coats, ensuring each layer is fully dry before re-coating. Wet sanding the final coat can fill pores for extra smoothness. Maintaining the finish includes yearly reapplication and cleaning with mild soap, ensuring the hand-rubbed finishes stay durable and aesthetically pleasing.
Welcome to WoodCraftYard.com, your one-stop destination for all things woodworking! I’m Oliver Candler, a dedicated woodworking aficionado and the creative mind behind this virtual woodworking haven. With a deep-rooted love for craftsmanship and a keen eye for detail, I am on a mission to share my passion for woodworking with fellow enthusiasts like yourself.
As a seasoned woodworker, I am committed to providing you with valuable insights, practical tips, and inspiring project ideas to help you unleash your creativity and master the art of woodworking. Whether you’re a seasoned pro or just starting out on your woodworking journey, join me as we carve, sand, and saw our way through the world of woodworking together.
Let’s embark on this woodworking adventure, where every knot, grain, and finish tells a unique story. Together, let’s craft, create, and build something truly extraordinary at WoodCraftYard.com!