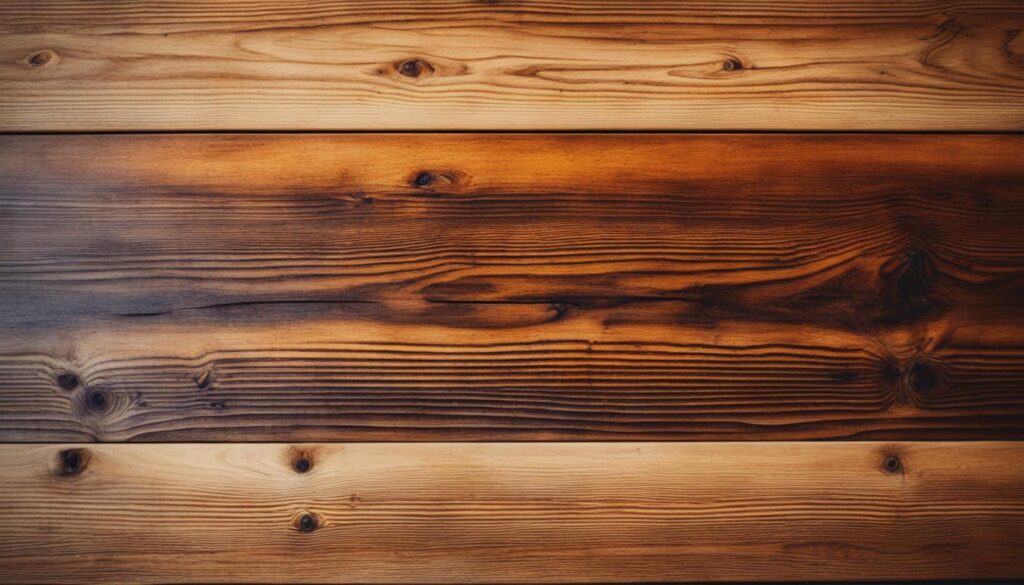
Danish oil not drying can often be attributed to a combination of incorrect application techniques and environmental factors, as the oil’s viscosity and flow are highly sensitive to humidity, temperature, and surface conditions. Incorrect mixing, uneven spreading, and inadequate surface preparation can lead to dry patches and prolonged drying times. Temperature and humidity also play critical roles, with high humidity slowing the drying process and low humidity accelerating it. Proper application techniques, adequate waiting periods between coats, and ideal climate conditions are essential for effective drying.
Incorrect Application Methods
Improper techniques for applying Danish oil can hinder the drying process, leading to a prolonged period of oiliness on the wood surface. One common mistake is incorrect mixing. Danish oil, which is a diluted varnish, must be mixed according to the manufacturer’s instructions to avoid inconsistent ratios of oil and thinner. This guarantees that the oil spreads evenly and dries properly. Failure to follow these instructions can result in an oil that is too thick, which slows down drying considerably.
Another critical error is uneven spreading. When applying the oil, it is important to use a generous amount, allowing it to soak into the wood for 15-20 minutes before wiping off excess with a clean cloth. This process should be repeated for each coat, ensuring thorough coverage and even penetration. Inadequate or inconsistent spreading can lead to dry patches, requiring additional coats and prolonging the overall drying time.
To avoid these issues, it is essential to adhere to the recommended application methods outlined by the manufacturer, ensuring a smooth and timely drying process.
Influence of Humidity and Temperature
The drying rate of Danish oil is greatly influenced by ambient humidity and temperature, as these environmental factors contribute to an ideal curing process. Climate conditions play a vital role in the evaporation rate of the solvents present in Danish oil.
High humidity slows down the evaporation process, leading to a prolonged drying period. Conversely, low humidity accelerates evaporation, resulting in a faster drying time. Weather patterns, such as high temperatures and low humidity, idealize the conditions for Danish oil to cure efficiently. However, in regions with high humidity and cooler temperatures, the drying rate is notably hindered. Hence, it is important to take into account the local weather patterns and climate conditions when applying Danish oil to ensure effective drying.
Additionally, temperature plays a key role in the curing process. Higher temperatures typically quicken the drying rate, while lower temperatures slow it down. Balanced climate conditions, with moderate temperatures and humidity levels, foster an environment where Danish oil can dry most effectively.
Attention to these environmental factors will help optimize the drying rate and achieve a successful finish.
Contaminated or Incompatible Surfaces
Surfaces contaminated with impurities or coated with incompatible materials can greatly undermine the ability of Danish oil to properly dry and adhere, leading to a poor finish or even complete failure. Dirty wood, for instance, can harbor hidden imperfections that disrupt the bonding process, causing the oil to bead up or remain tacky.
Similarly, old finishes such as varnish, wax, or polyurethane can react negatively with the Danish oil, resulting in an uneven, streaked, or muddy appearance.
To address these issues, it is essential to thoroughly prepare the surface before applying the Danish oil. This involves meticulously cleaning the wood to remove any dirt, grime, or existing finishes. A degreaser or wood cleaner can be used to effectively strip the surface of debris and old coatings.
Additionally, lightly sanding the wood can further ensure a clean, even finish by opening up the pores and removing any lingering impurities. By ensuring a pristine surface, you can greatly enhance the performance of Danish oil, allowing it to dry smoothly, adhere effectively, and produce the desired finish.
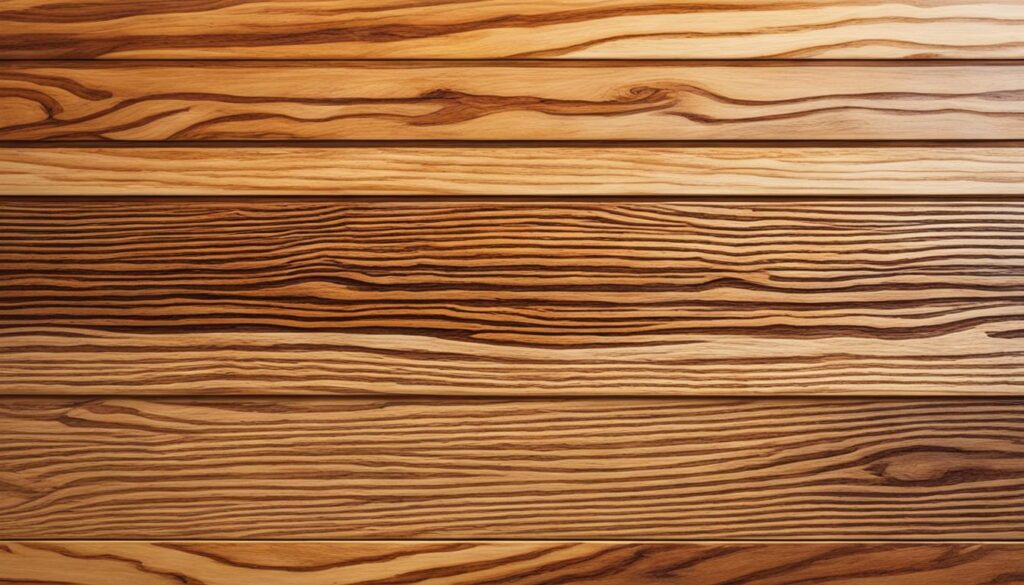
Thickness of Danish Oil Coats
Applying Danish oil in optimal coat thickness is a critical element in achieving the desired aesthetic and ensuring proper curing, as it directly affects the leveling, flow, and overall performance of the finish. Danish oil that is too thick can lead to an uneven finish, while application that is too thin can result in a finish that is weak and prone to wear.
When applying Danish oil, it is essential to take into account the viscosity of the oil, as it directly influences the flow and leveling of the finish.
In terms of thickness, ideal coats often range from 0.0001 to 0.001 inches, ensuring a uniform, even finish. Techniques such as wiping or brushing can help achieve this ideal thickness by controlling the flow of the oil. Poor finishing techniques, including the application of overly thick coats, can lead to delayed drying times and an inferior finish.
Waiting Between Coats
When working with Danish oil, the waiting period between coats is essential to guarantee proper curing and achieve a high-quality finish. The application time and drying duration significantly impact the final result. Applying multiple coats too quickly can lead to uneven drying and a disappointing finish. Conversely, waiting too long can cause the previous coats to become too dry, making the subsequent application difficult to adhere properly.
| Application Time | Drying Duration | Optimal Waiting Period |
|---|---|---|
| Thin Coats (30 minutes) | 2-4 hours | 4-6 hours |
| Medium Coats (1 hour) | 4-6 hours | 6-8 hours |
| Thick Coats (2 hours) | 6-8 hours | 8-12 hours |
Polyurethane Incompatibility
Incompatibility with polyurethane is a common issue that can greatly impede the effectiveness of Danish oil, particularly if the two substances are applied in close succession without proper preparation and adherence to recommended guidelines. Polyurethane and Danish oil, though both used for wood finishing, have distinct chemical compositions that can interact adversely.
When applied together without adequate preparation, a chemical reaction occurs that disrupts the molecular bonding process necessary for Danish oil to dry effectively. This reaction hinders the Danish oil’s ability to bond with the wood, causing it to remain tacky and undeveloped.
To overcome this issue, it is essential to make sure a sufficient period of time has elapsed since the last application of polyurethane. Additionally, the surface must be thoroughly cleaned and sanded to remove any remaining residues that could interfere with the Danish oil.
Fixes for Sticky Surfaces
Adhesives and other sticky substances can leave stubborn residue on various surfaces, ranging from common household items to delicate electronic devices and expensive tools, necessitating the use of specialized cleaning products and techniques.
These sticky residues can be particularly difficult to remove without causing damage to the underlying material, especially when dealing with plastic, wood, or electronic components.
Several methods have proven effective in addressing this issue. For example, a combination of oil and vinegar can successfully loosen and break down grease on appliances, while baking soda and water form a paste that can remove sticky coatings from plastic surfaces.
In the case of wood surfaces, a diluted vinegar solution can be used to gently clean and remove sticky buildup.
Furthermore, using isopropyl alcohol or citrus-based solvents can effectively strip away sticky layers from plastics, revealing a smoother surface underneath. For delicate electronics, applying these solvents carefully is important to prevent damage.
Ensuring thorough drying after cleaning and pre-testing any cleaning solution on a less conspicuous area are essential steps in overexposure prevention during surface cleaning. These careful measures ensure the integrity and appearance of the cleaned surfaces are maintained.
Welcome to WoodCraftYard.com, your one-stop destination for all things woodworking! I’m Oliver Candler, a dedicated woodworking aficionado and the creative mind behind this virtual woodworking haven. With a deep-rooted love for craftsmanship and a keen eye for detail, I am on a mission to share my passion for woodworking with fellow enthusiasts like yourself.
As a seasoned woodworker, I am committed to providing you with valuable insights, practical tips, and inspiring project ideas to help you unleash your creativity and master the art of woodworking. Whether you’re a seasoned pro or just starting out on your woodworking journey, join me as we carve, sand, and saw our way through the world of woodworking together.
Let’s embark on this woodworking adventure, where every knot, grain, and finish tells a unique story. Together, let’s craft, create, and build something truly extraordinary at WoodCraftYard.com!