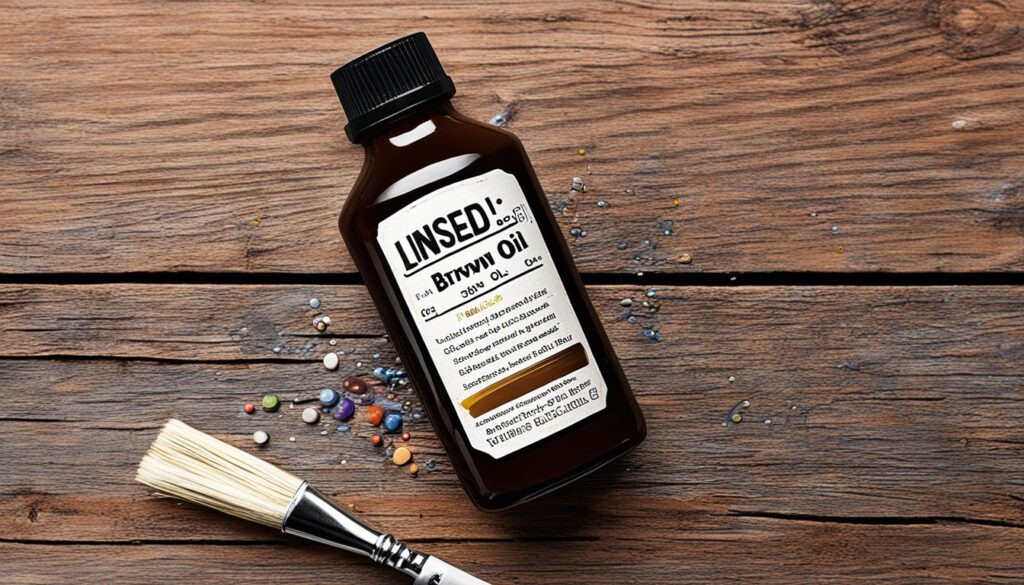
Yes, you can varnish over linseed oil if appropriate preparation steps are taken. First, make sure the linseed oil has fully cured, typically for 1-2 weeks. Lightly sand the surface with fine-grit sandpaper to promote adhesion. Clean the area with mineral spirits to remove debris. Apply a thin seal coat of dewaxed shellac to prevent uneven varnish absorption and enhance adhesion. Finally, apply 2-3 thin coats of an oil-based varnish, such as polyurethane, sanding lightly between each coat. Proper preparation and material choice will ensure a successful and durable finish. Learn about the detailed steps and best practices to achieve the best results.
Understanding Linseed Oil Finishes
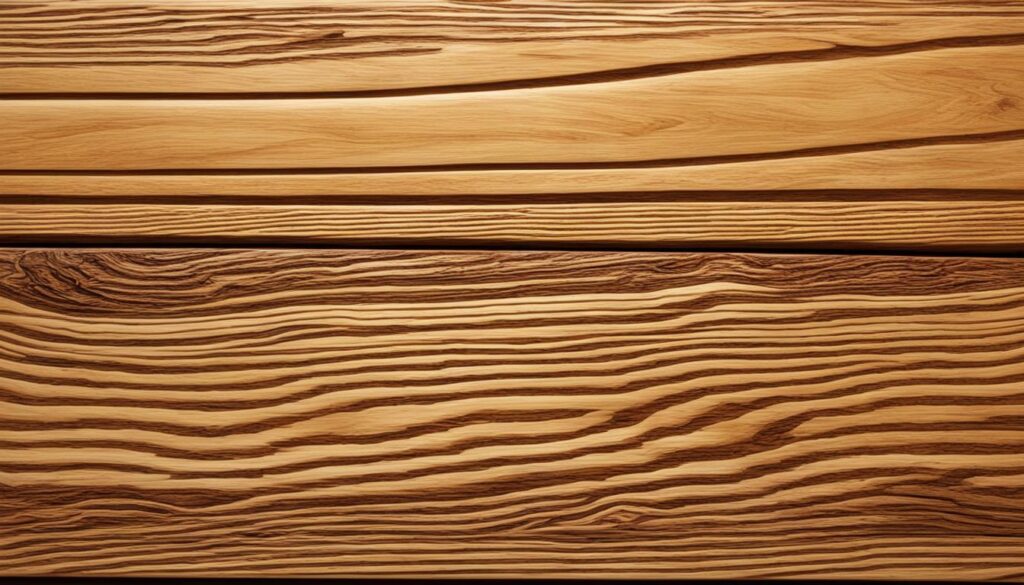
Understanding linseed oil finishes begins with recognizing that linseed oil, derived from the seeds of the flax plant, has been a staple in woodworking due to its ease of application and ability to enhance the wood’s natural beauty. This oil-based wood finish is prized for its ability to penetrate deeply into the wood fibers, highlighting the grain and providing a warm, low-luster sheen. Its non-toxic nature when cured and relatively inexpensive cost make it a preferred choice for many woodworkers.
However, linseed oil finishing has its limitations. While it does enhance the aesthetic appeal of wood, it offers minimal protection against moisture and wear compared to more robust finishes like varnish.
This is where the concept of linseed oil varnish compatibility becomes significant. When used in conjunction with an oil-based varnish, such as polyurethane or spar varnish, linseed oil can form a base that allows the varnish to adhere effectively. This results in a finish that combines the deep, rich look of linseed oil with the protective qualities of varnish.
Surface Preparation for Varnishing
Proper surface preparation is essential for achieving a flawless varnish finish. When varnishing over linseed oil, meticulous attention to detail during the pretreatment phase can have a substantial impact on the final outcome.
Begin by making sure that the linseed oil has fully cured; this curing process can take 1-2 weeks, depending on environmental conditions. Premature varnishing over uncured linseed oil can cause adhesion issues and surface imperfections.
Once the linseed oil is cured, the next step in preparing linseed oil for varnish involves lightly sanding the surface with fine-grit sandpaper, typically between 220-320 grit. This creates a smooth, uniform base, essential for the varnish to adhere properly.
After sanding, remove all dust particles using a tack cloth or a vacuum to prevent any debris from interfering with the varnish application.
For wood finishing techniques that include varnishing over linseed oil, it’s also important to make sure that the surface is free from any oils or contaminants. Wiping the surface with a solvent like mineral spirits can achieve this.
Applying a Sealer Coat Before Varnishing
Applying a sealer coat before varnishing is an essential step that guarantees a uniform and durable finish. When sealing linseed oil with varnish, the sealer coat plays an important role in preparing the wood surface. This initial layer seals the wood grain, preventing the varnish from being absorbed unevenly. This is particularly significant when prepping linseed oil for varnish, as the oil can create a more porous surface.
Utilizing a sealer coat also promotes better adhesion of the varnish. This is crucial for ensuring that the varnish adheres uniformly across the entire surface. In the linseed oil and varnish combination, a sealer coat acts as an intermediary layer, enhancing the bonding between the oil-treated wood and the varnish.
A dedicated sealer product, such as dewaxed shellac, is often recommended for this purpose. It dries faster than varnish, allowing for quicker sanding and recoating. Additionally, the sealer coat simplifies the sanding process, making it easier to achieve a smooth surface before applying varnish over linseed oil. This step is important for preventing issues like blotchiness and ensuring a consistent, professional finish.
Therefore, using a linseed oil sealer before varnishing is a best practice for achieving excellent results in woodworking projects.
Can You Varnish Over Linseed Oil
After applying a sealer coat, many woodworkers wonder whether it is possible to varnish over linseed oil. The answer is yes, but it requires careful surface preparation and the right choice of materials. Linseed oil finishes can provide a warm, rich glow to wood, but to enhance durability, applying a varnish topcoat is often necessary.
Here are the key steps to successfully varnish over linseed oil:
Allow Linseed Oil to Cure: Boiled linseed oil needs 1-2 weeks to fully cure, depending on temperature and humidity. Applying varnish over uncured linseed oil can result in wrinkling or poor adhesion, compromising the wood finishing process.
Surface Preparation: Once the linseed oil is cured, lightly sand the surface with fine-grit sandpaper (220-320 grit) to establish a smooth base for the varnish to adhere. Wipe away any sanding dust to prevent imperfections in the final finish.
Choose Compatible Finishes: Use oil-based finishes like polyurethane or spar varnish, as these are compatible with linseed oil. Water-based varnishes may not adhere well to an oil-based undercoat, leading to potential finish failures.
Varnishing Over Linseed Oil
Varnishing over linseed oil requires meticulous preparation and the use of compatible materials to achieve a durable and aesthetically pleasing finish. Linseed oil varnishing begins with allowing the linseed oil to fully cure, which typically takes 1-2 weeks for boiled linseed oil, depending on environmental conditions. This curing period is vital as applying varnish over uncured oil can cause issues such as wrinkling or poor adhesion.
Once the linseed oil has cured, the next step involves preparing the linseed oil surface for varnish. Lightly sand the surface with fine grit sandpaper (220-320 grit) to create a smooth base that will help the varnish adhere properly. After sanding, make sure all dust is wiped away to maintain a clean working surface.
Choosing a compatible varnish for linseed oil is essential. Oil-based varnishes like polyurethane or spar varnish are recommended because they are chemically compatible with the linseed oil base. Water-based varnishes are generally not suitable as they may not adhere well.
Before applying the varnish, a thin seal coat of dewaxed shellac can be used to act as an adhesion bridge. Finally, brush or wipe on 2-3 thin coats of varnish, sanding lightly between each coat, to achieve a protective and visually appealing finish.
Ensuring a Successful Finish
Ensuring a successful finish requires careful attention to both the selection of materials and the meticulous preparation of the wood surface. When varnishing over linseed oil, it is important to follow specific wood finishing methods to achieve a durable and aesthetically pleasing result.
Here are some key steps to guarantee a successful finish:
Proper Curing and Sanding: Allow the linseed oil finish to fully cure, typically 1-2 weeks for boiled linseed oil. Uncured oil can cause issues like wrinkling or poor adhesion. Once cured, sand the surface lightly with fine grit sandpaper (220-320 grit) to create a smooth base for the varnish.
Choosing the Right Varnish: Opt for an oil-based varnish such as polyurethane or spar varnish, which is compatible with linseed oil. Consider applying a thin seal coat of dewaxed shellac before the varnish to enhance adhesion.
Application Process: Apply 2-3 thin coats of varnish, sanding lightly between each coat to ensure smoothness. Follow the manufacturer’s instructions for drying times to achieve a protective topcoat that maintains the warm glow of the linseed oil finish.
Welcome to WoodCraftYard.com, your one-stop destination for all things woodworking! I’m Oliver Candler, a dedicated woodworking aficionado and the creative mind behind this virtual woodworking haven. With a deep-rooted love for craftsmanship and a keen eye for detail, I am on a mission to share my passion for woodworking with fellow enthusiasts like yourself.
As a seasoned woodworker, I am committed to providing you with valuable insights, practical tips, and inspiring project ideas to help you unleash your creativity and master the art of woodworking. Whether you’re a seasoned pro or just starting out on your woodworking journey, join me as we carve, sand, and saw our way through the world of woodworking together.
Let’s embark on this woodworking adventure, where every knot, grain, and finish tells a unique story. Together, let’s craft, create, and build something truly extraordinary at WoodCraftYard.com!